Getting Started
Prerequisites
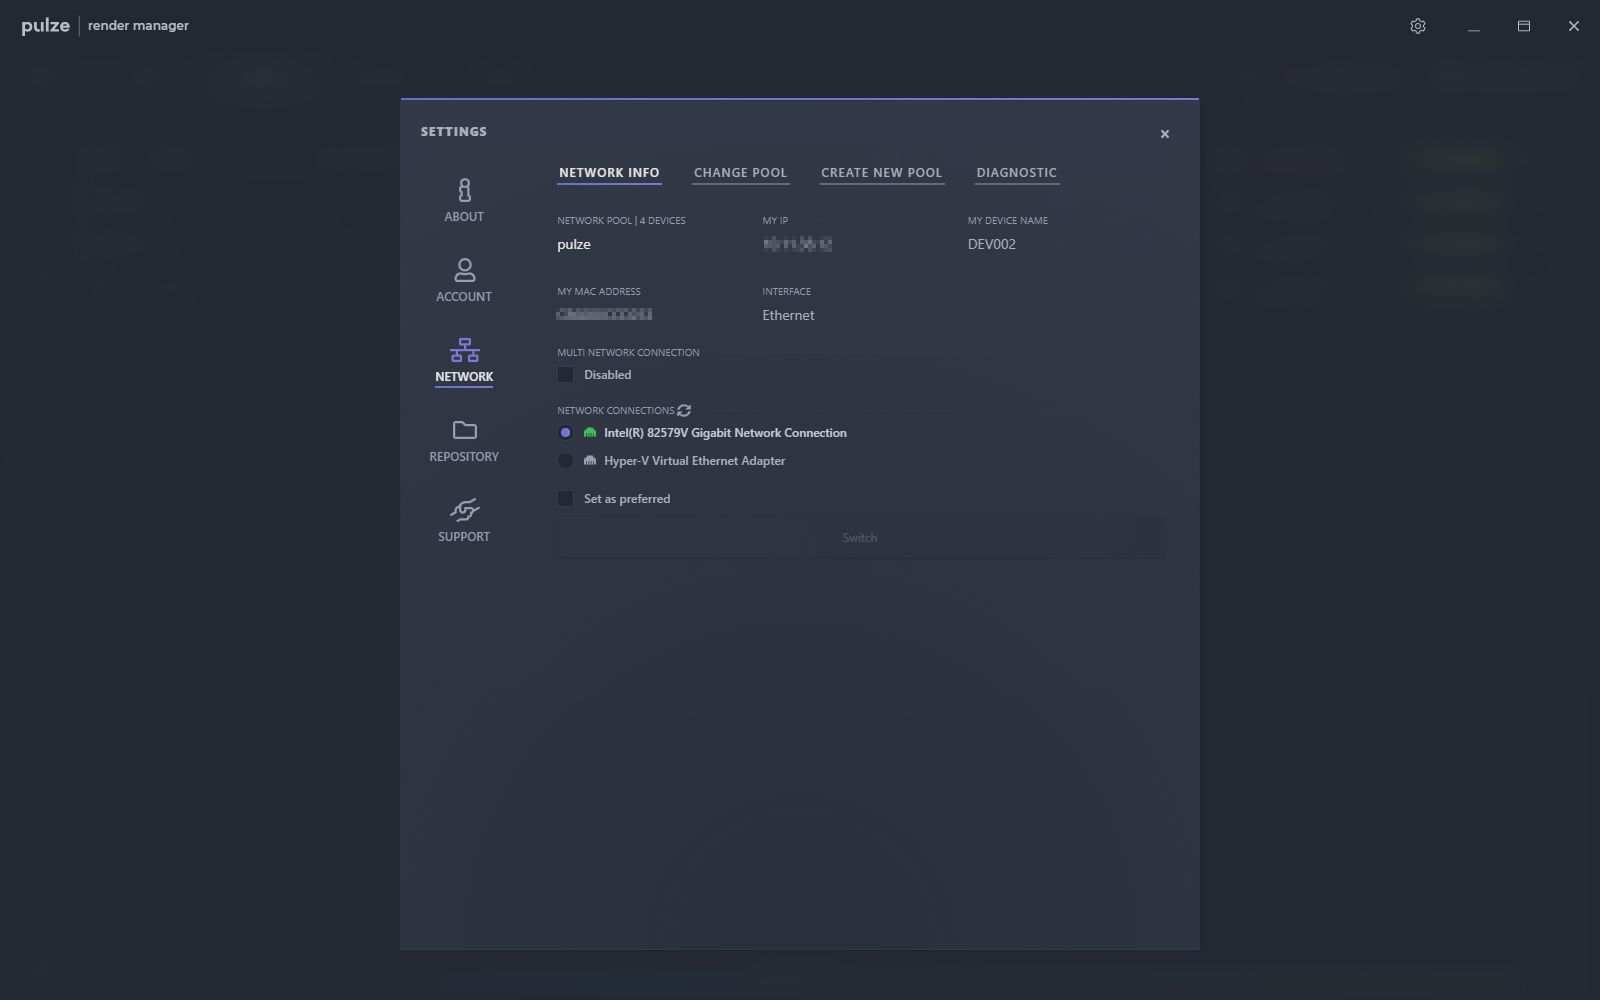
Network
- All render nodes and workstations should be visible to each other on the network where you wish to use Pulze
Internet connection
- Render Manager in Workstation mode requires an internet connection, and in Node mode requires a Workstation to be connected
Firewall / Antivirus
- Pulze Service.exe (located at C:/Program Files/Pulze Service) should be added as an exception to your firewall and antivirus software
- In certain cases when allowing the executable is not enough, make sure that you allow TCP port range 3005-3009 through the firewall
- 3dsmax.exe should be also added to the firewall exception
Operating system
- Windows 10 & 11
Supported software
3ds Max 2014 - 2024
render engines:
V-Ray, Corona, FStorm, Arnold, Redshift
(All other 3rd party and built-in render engines for 3ds Max will also work, however, you can only submit Single Frame or Animation jobs)
recognized plugins:
Anima, BerconMaps, CityTraffic, CloneModifier, ColorCorrect, ColorEdge, ComplexFresnel, FloorGenerator, Forest Pack Lite, Forest Pack Pro, Glue, GrowFX, Laubwerk, MadCar, MultiScatter, MultiTexture, Phoenix FD, Psd Manager, RailClone Lite, RailClone Pro, ReDeform, RichDirt, SigerNoise, SigerScratches, SiNi Software, SmartRefs, SplineOffset, Substance in 3ds Max, ThinFilm, tyFlow, VRayPattern
V-Ray Standalone
Arnold Standalone
Chaos Vantage (version 1.5.0 or higher)
V-Ray Swarm
Fusion Render Node (version 17)
Installation
Installing Render Manager on a workstation
The very first installation should happen on a workstation. Please make sure that this computer is connected to the internet.
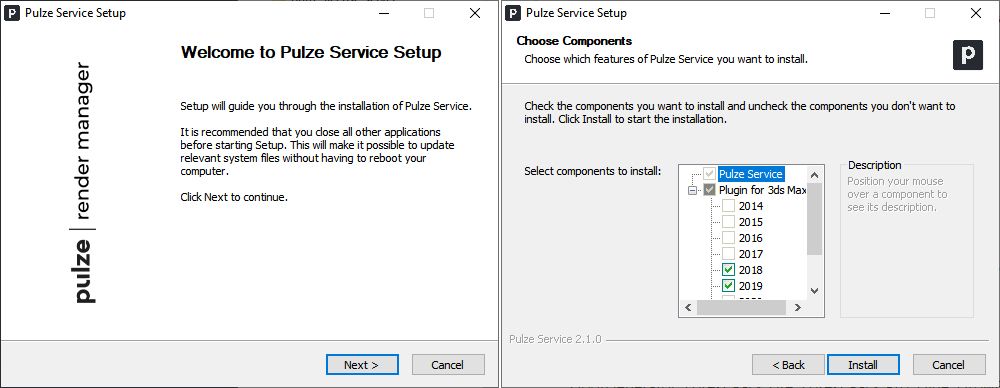
Run the downloaded installer and go through the usual setup procedure.
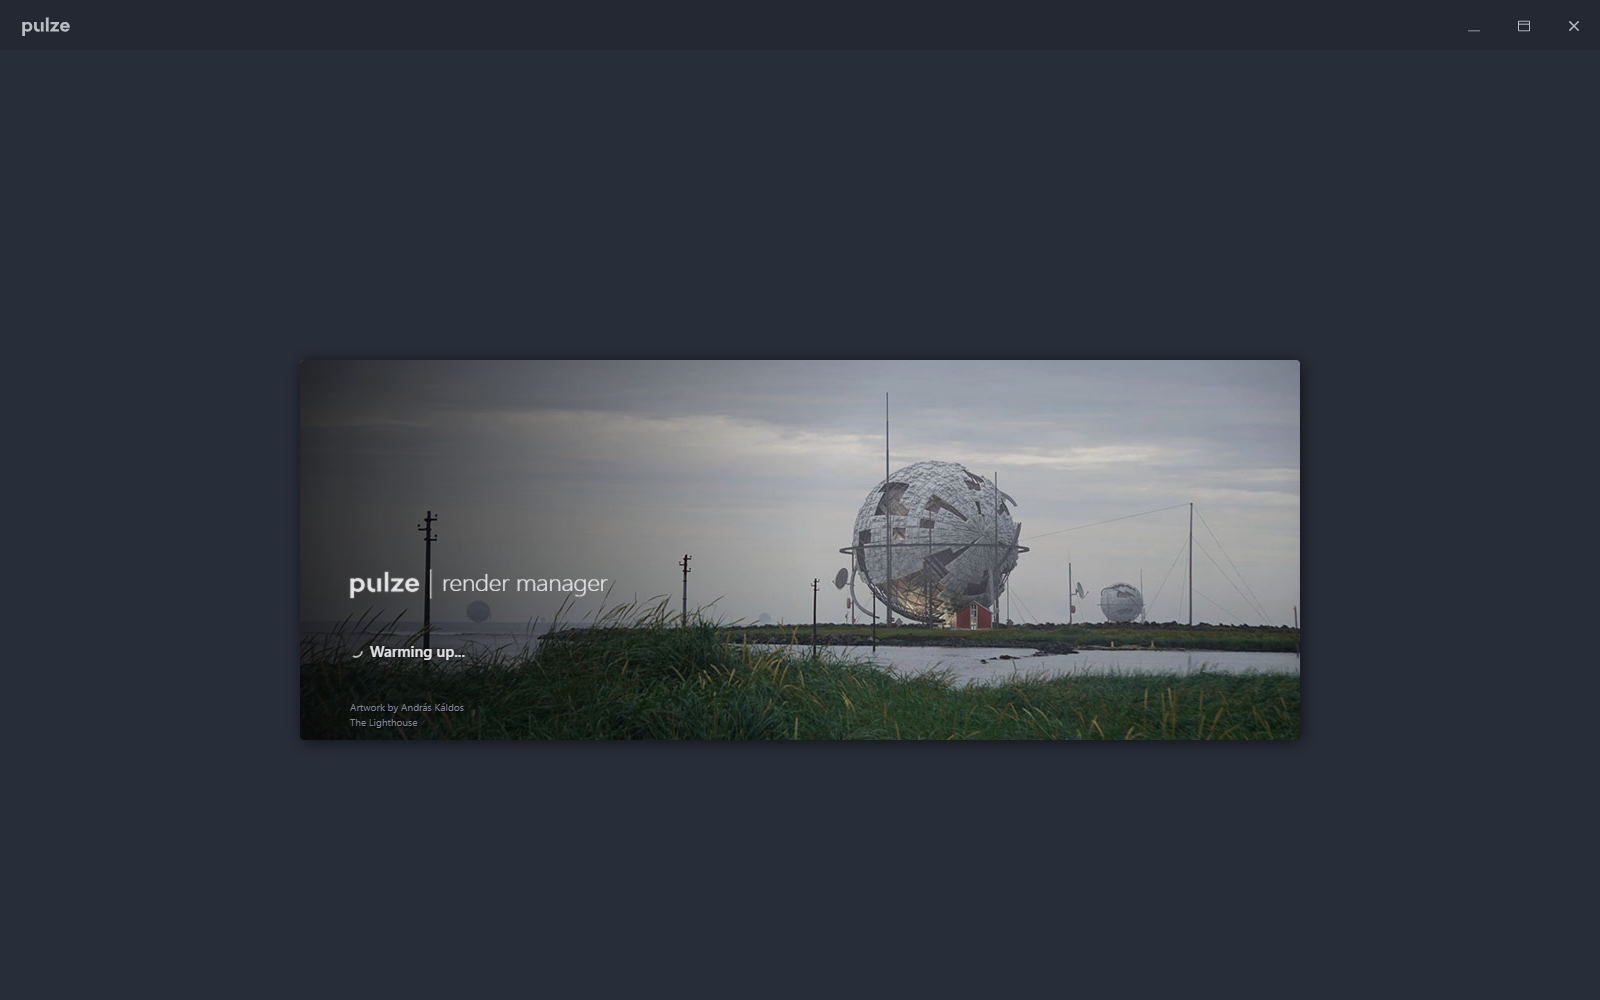
Once the installation is finished, Render Manager will start automatically.
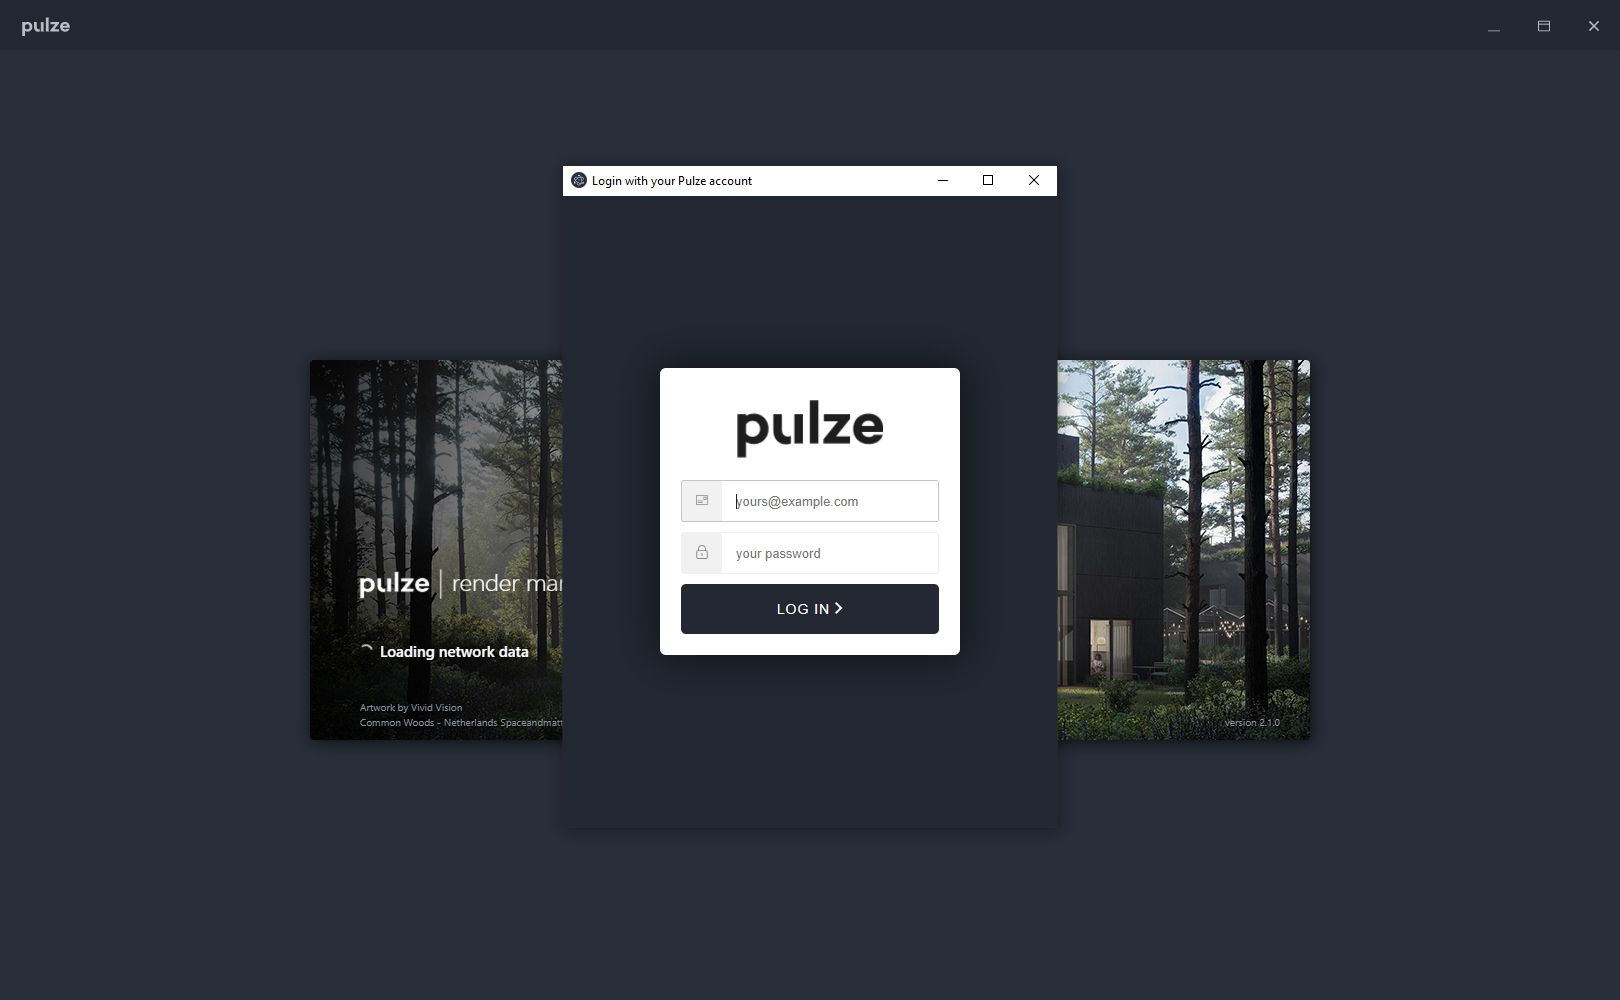
If you have not done it before, Render Manager will ask you to sign in with your Pulze account. Enter your user name and password that you registered with.
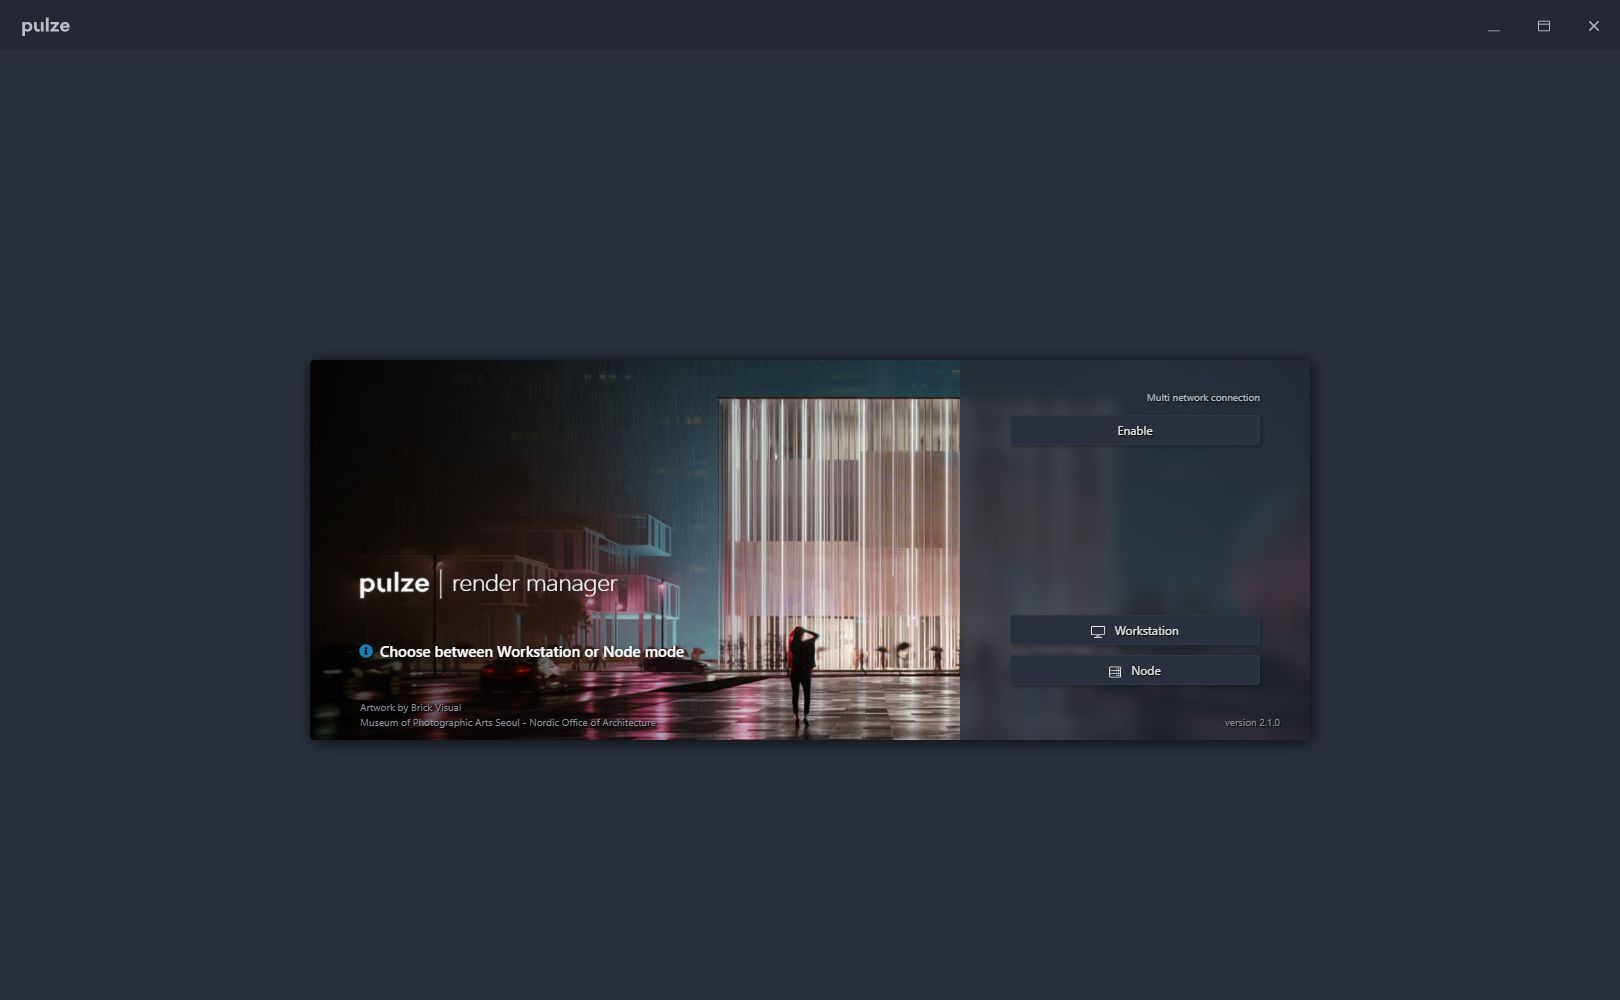
The next step is to choose between Workstation or Node mode. Choose workstation to continue with.
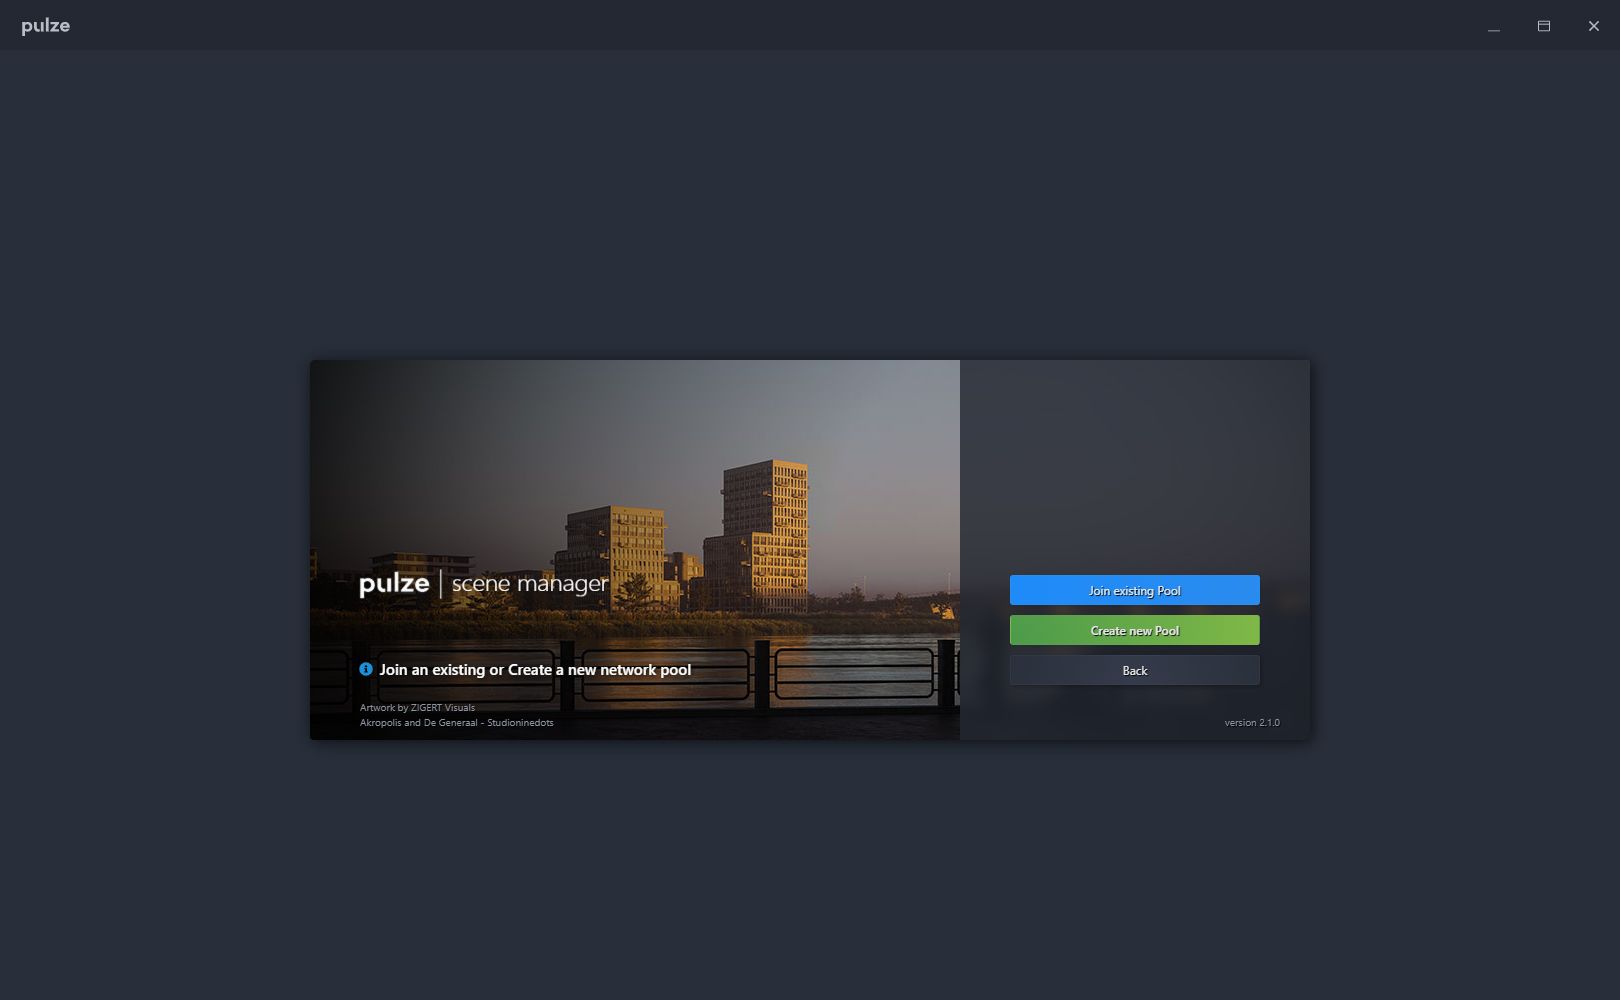
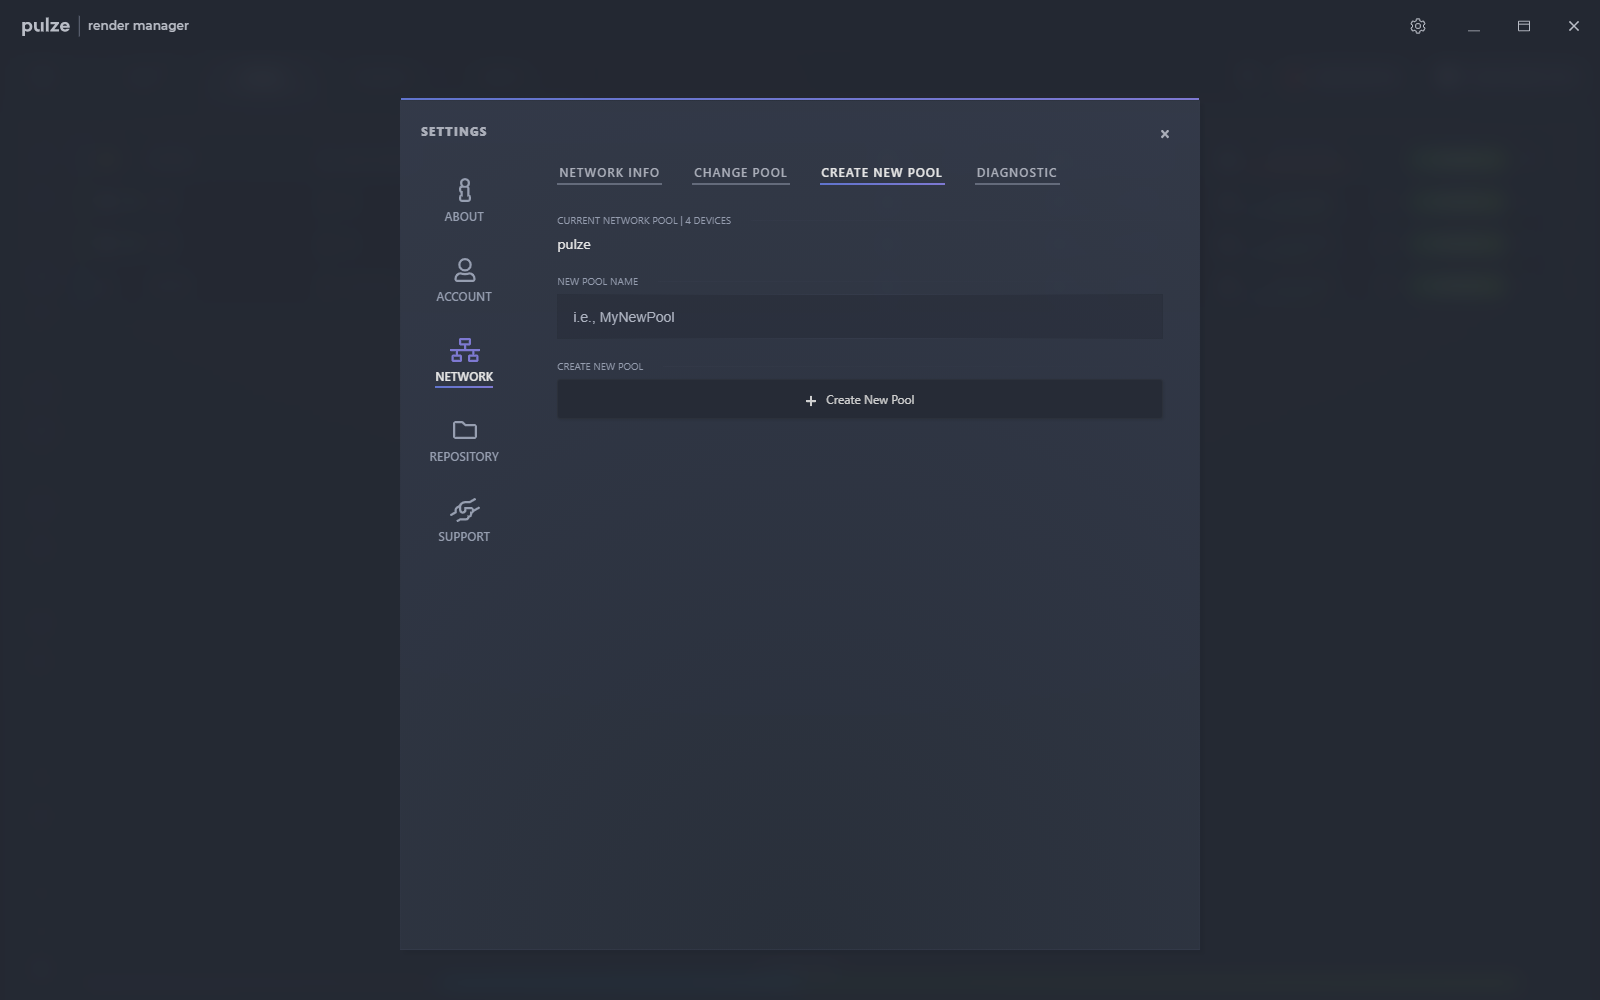
If you haven’t created a pool yet, then click on Create new Pool.
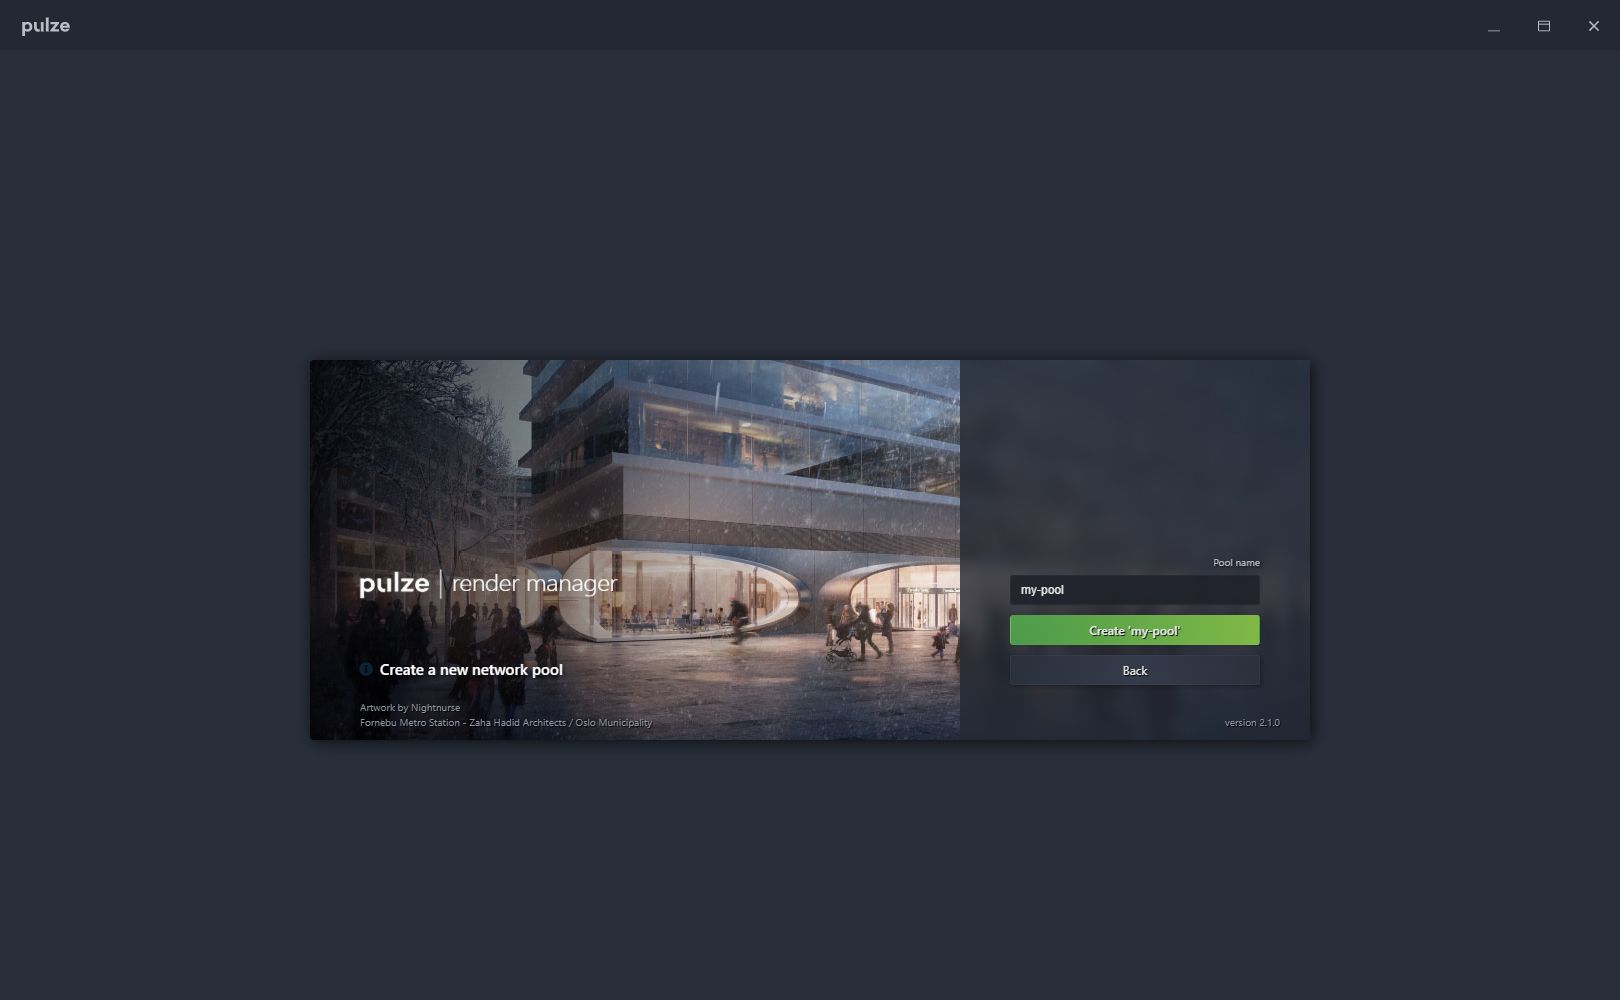
Name your pool and press Create.
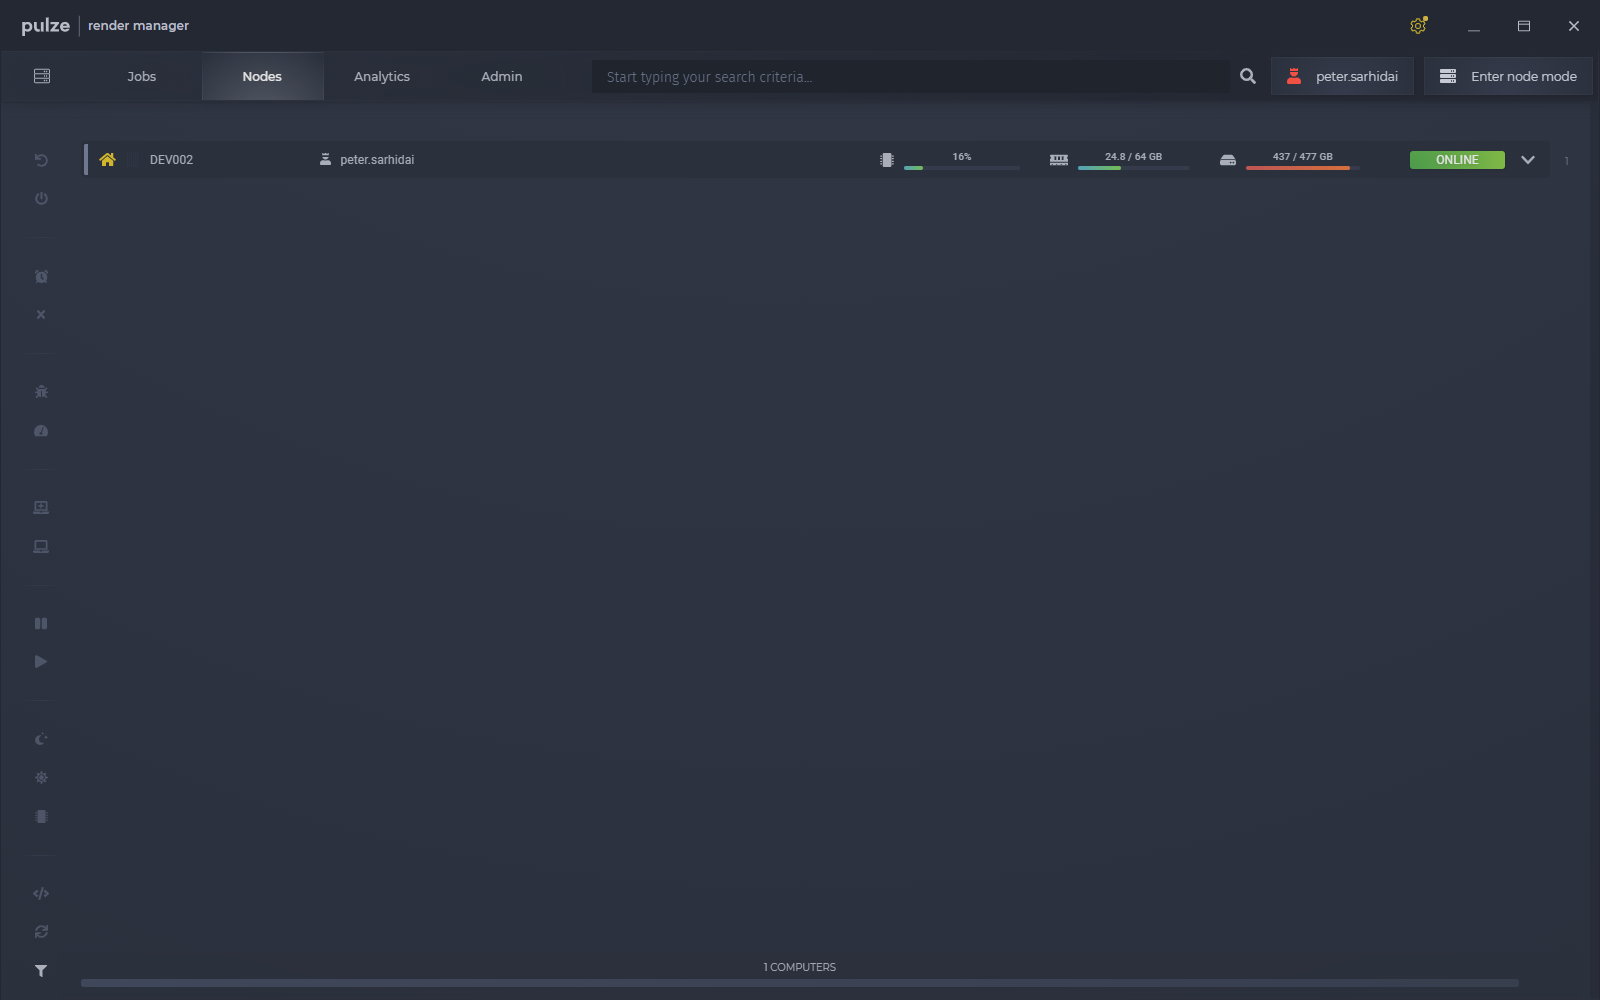
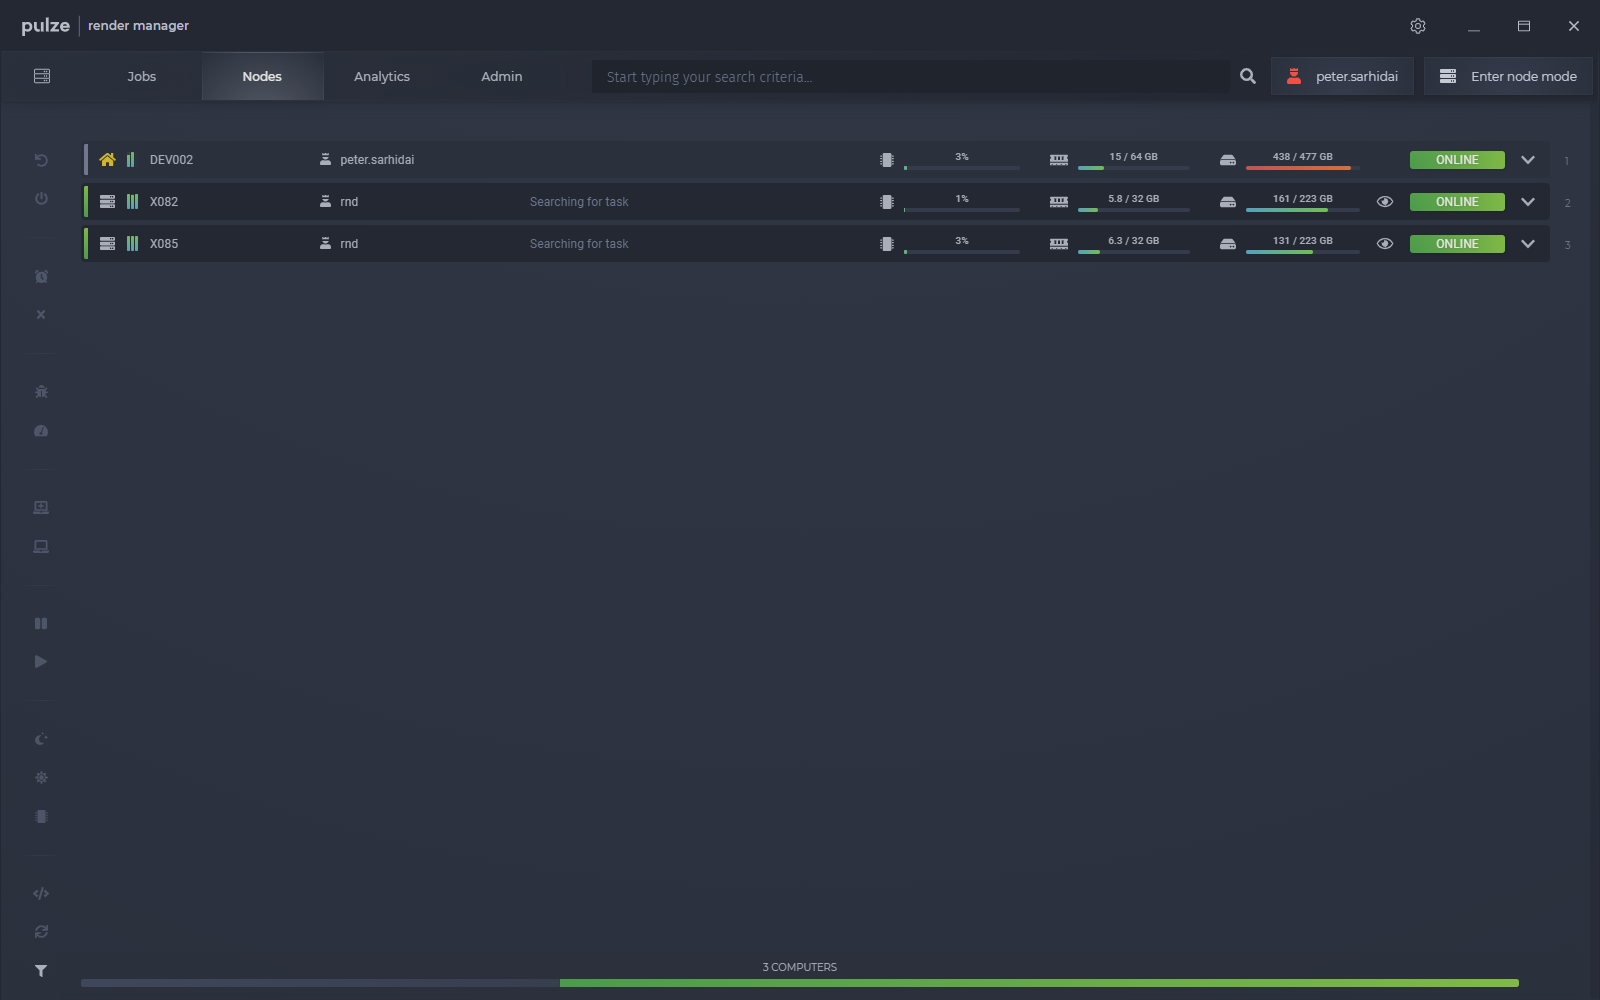
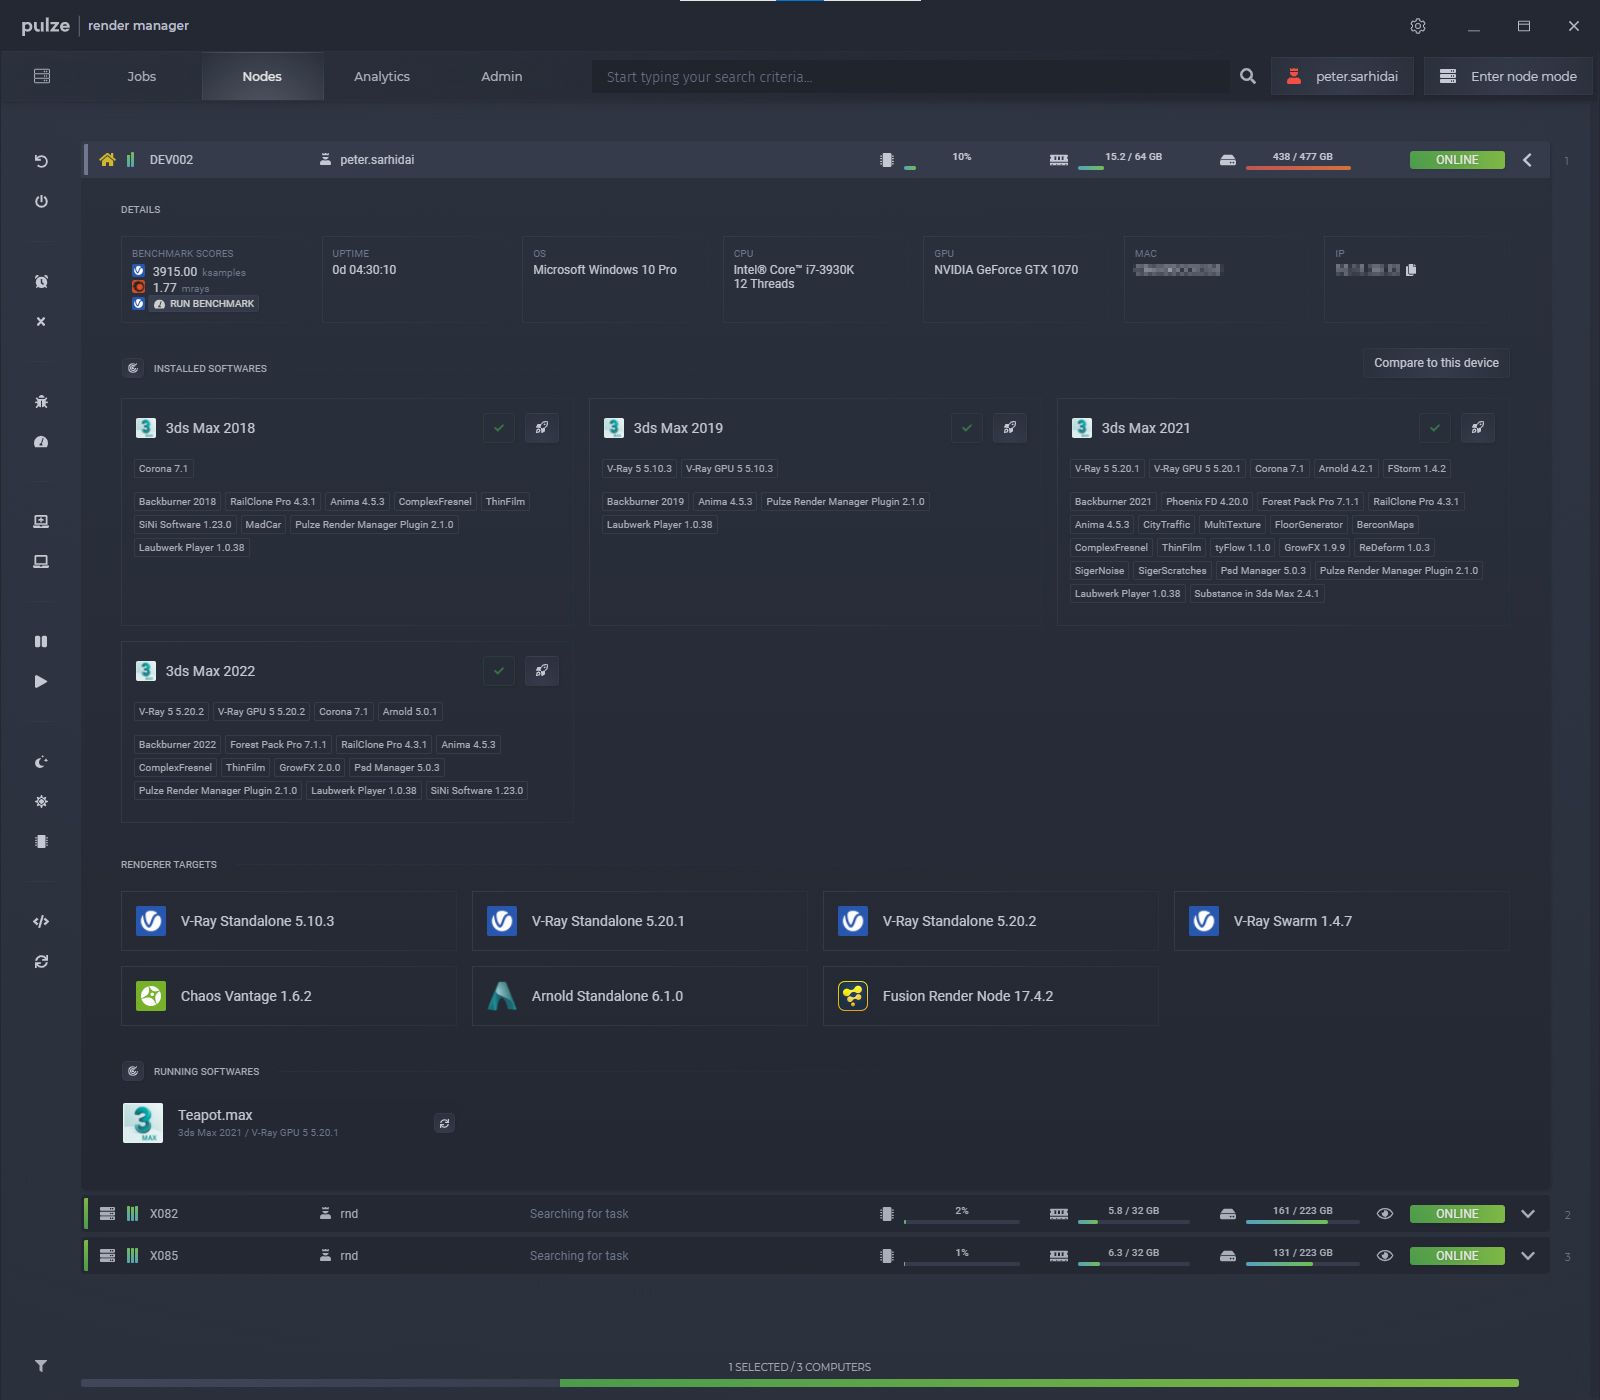
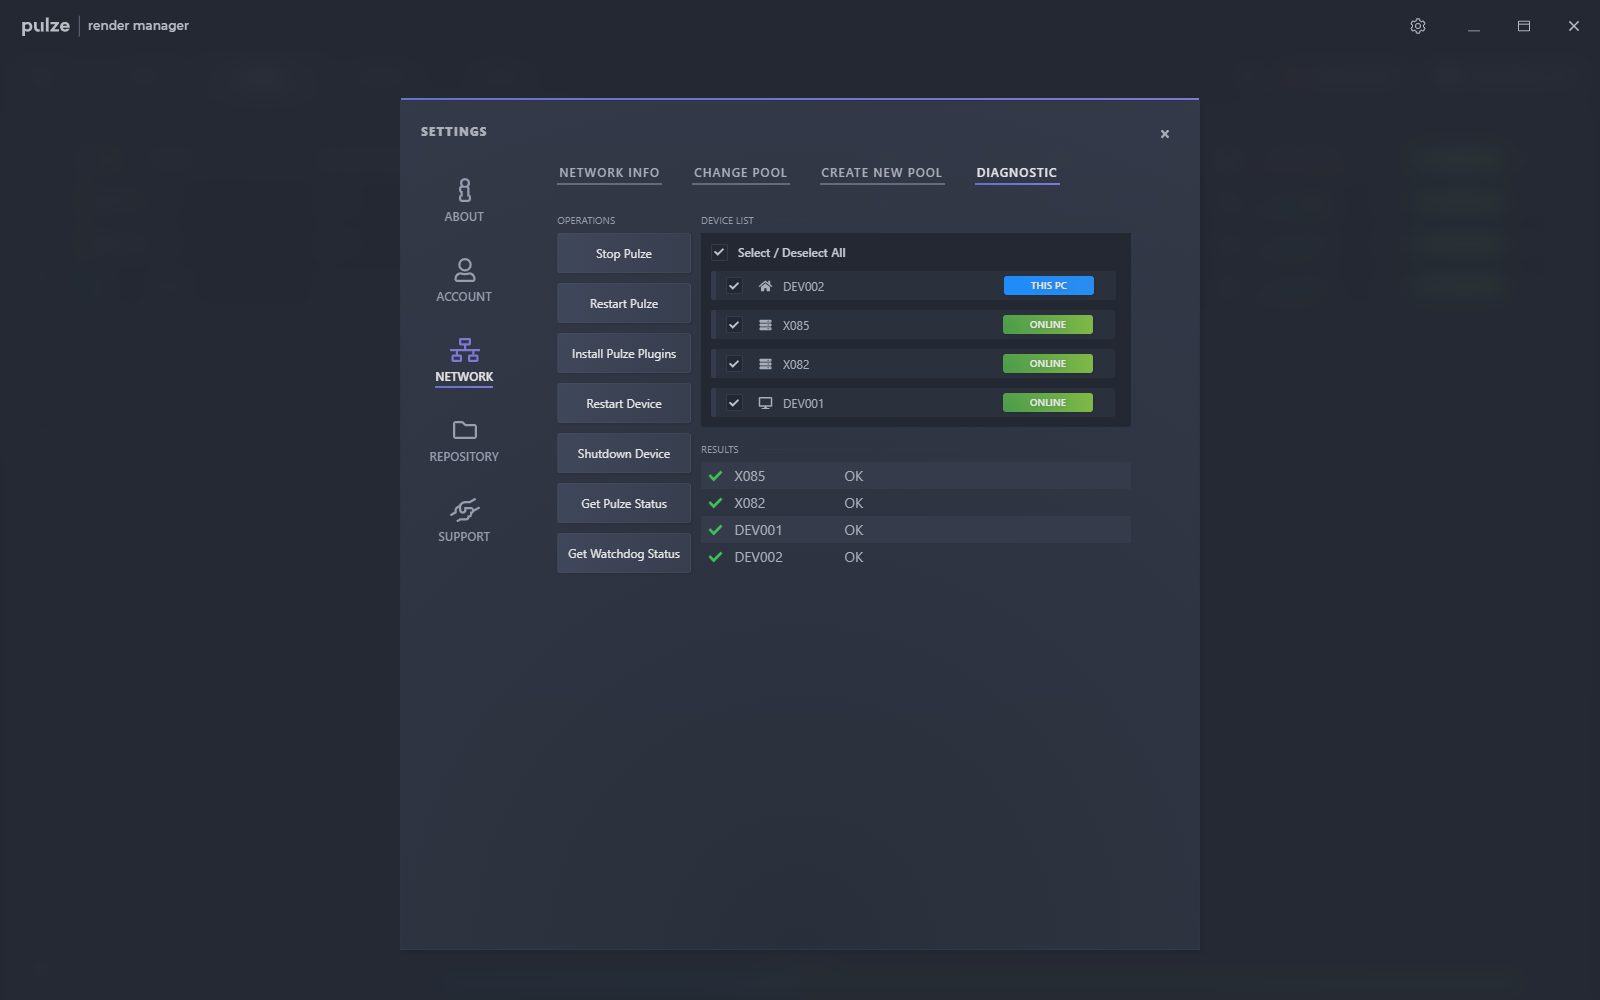
After a short loading time, you should arrive at the Nodes tab where you will see your computer at the top.
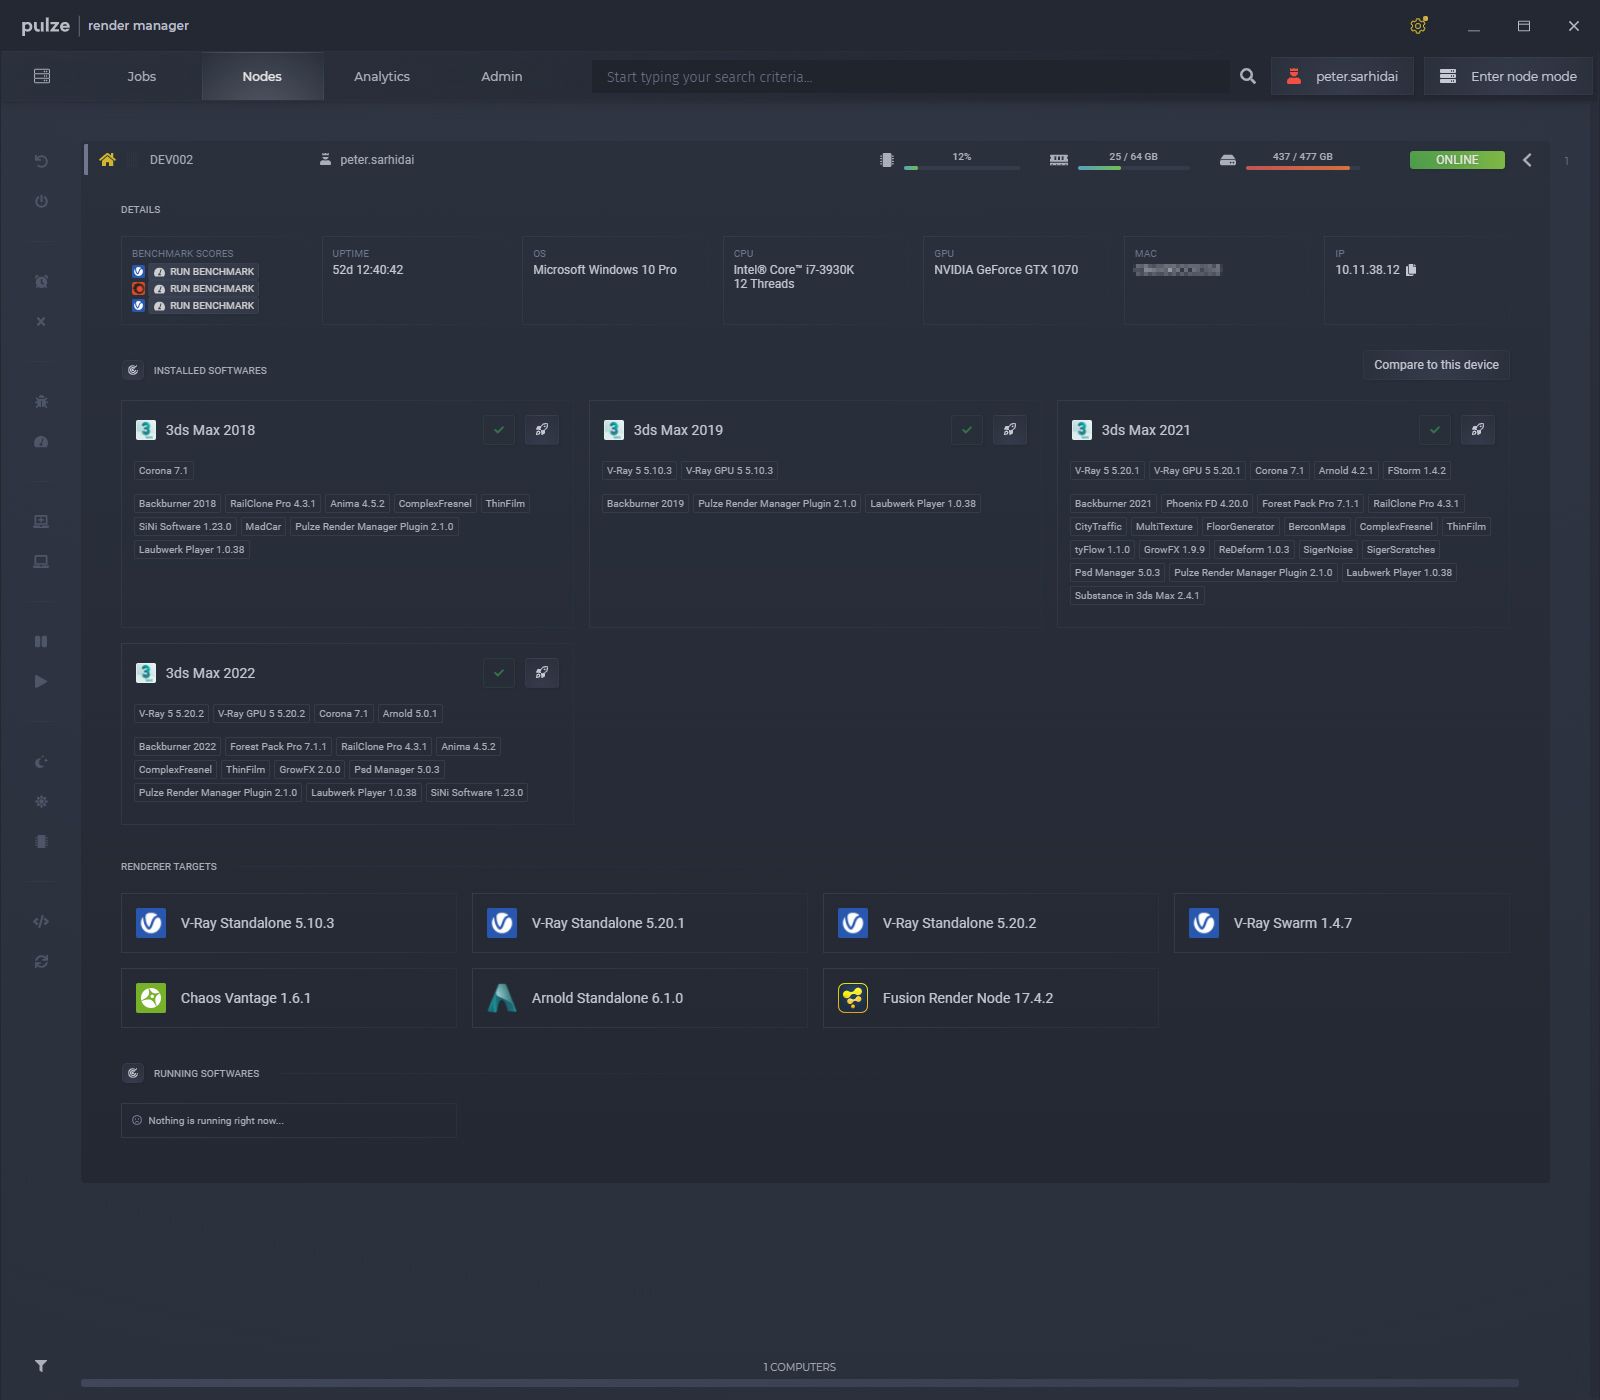
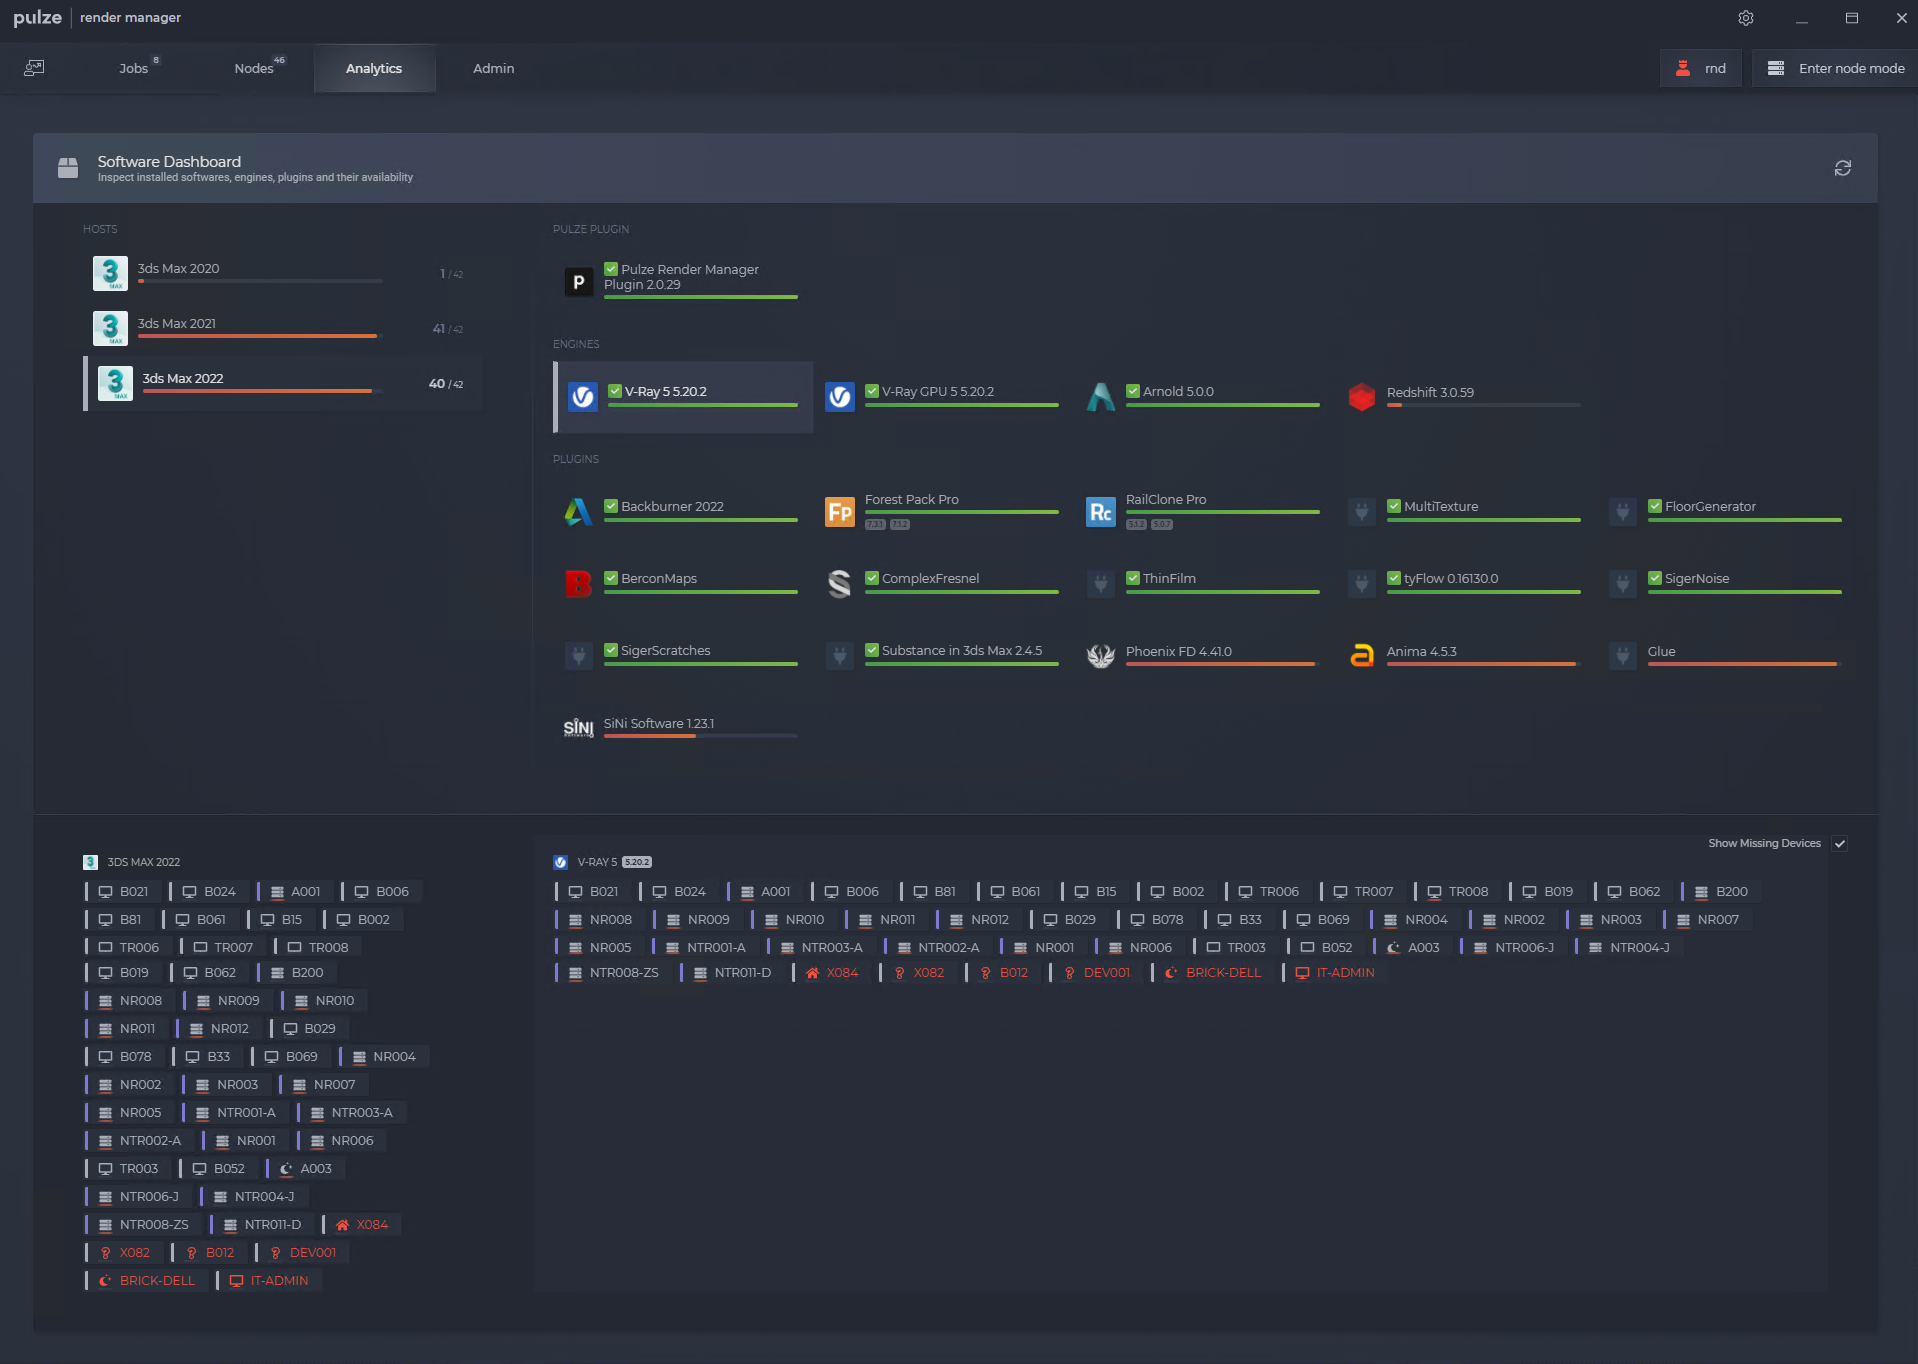
You can expand your computer and see the installed softwares that are recognized by Render Manager along with some basic hardware information.
You can read more about the computer details here:
Installing Render Manager on a render node
The installation procedure for a render node is almost the same. In this case, internet connection is not mandatory because the workstation (where Render Manager is already running) will handle the authentication and licensing procedure for us.

Choose Node to continue to the next step.
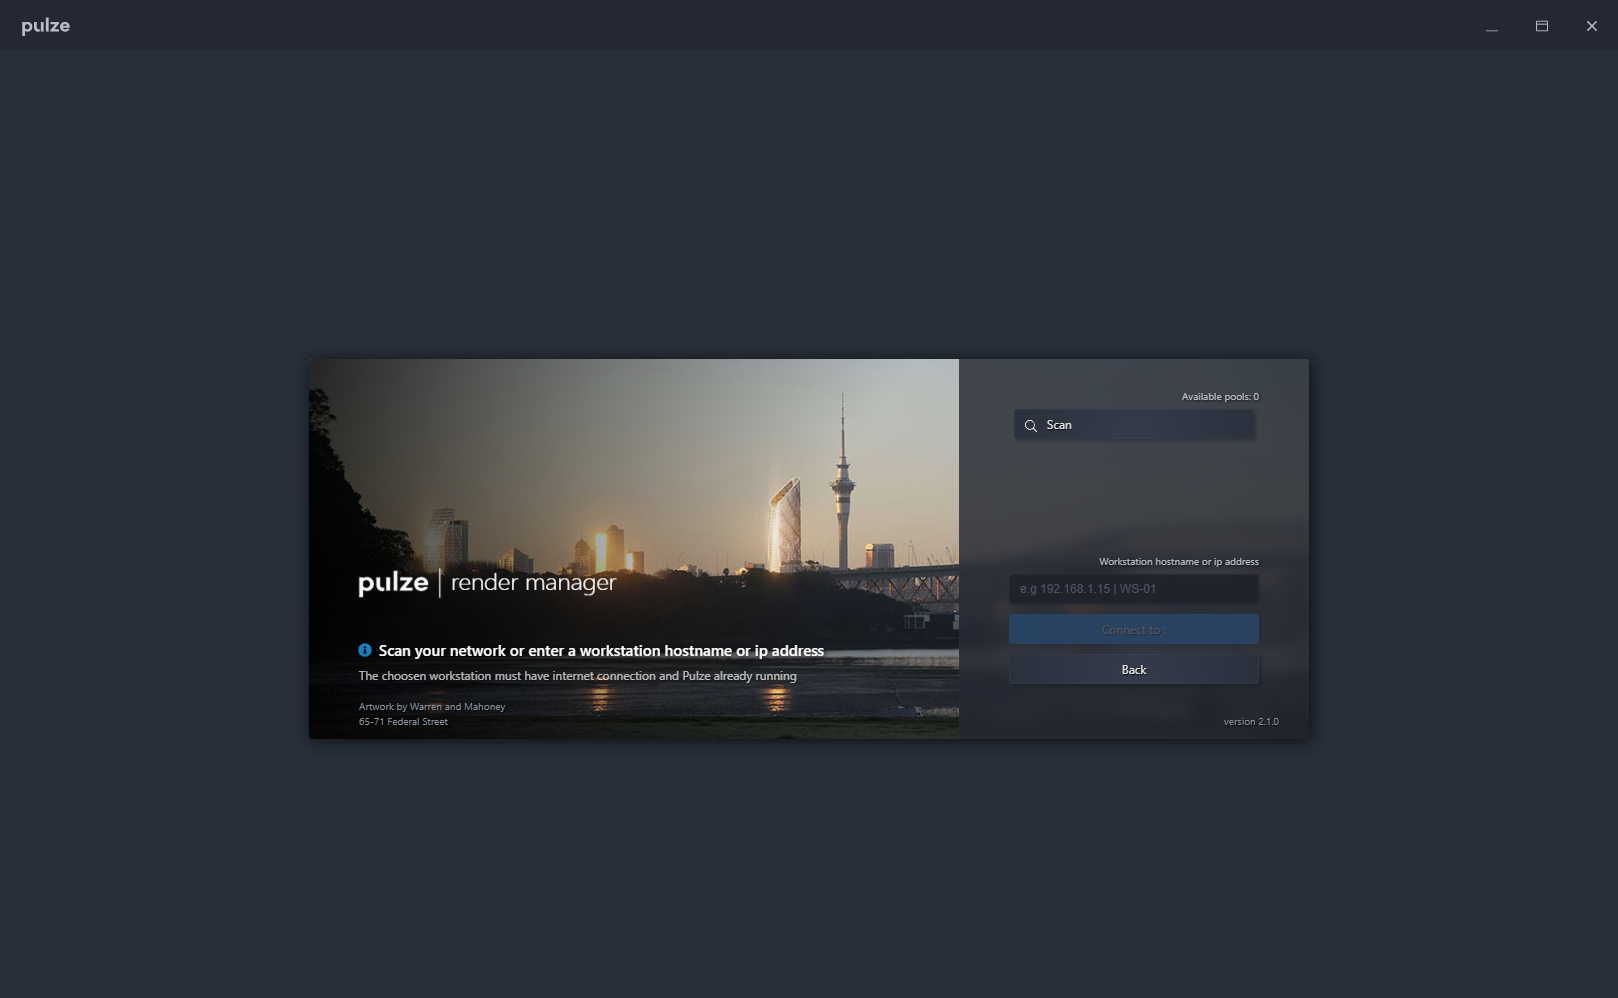
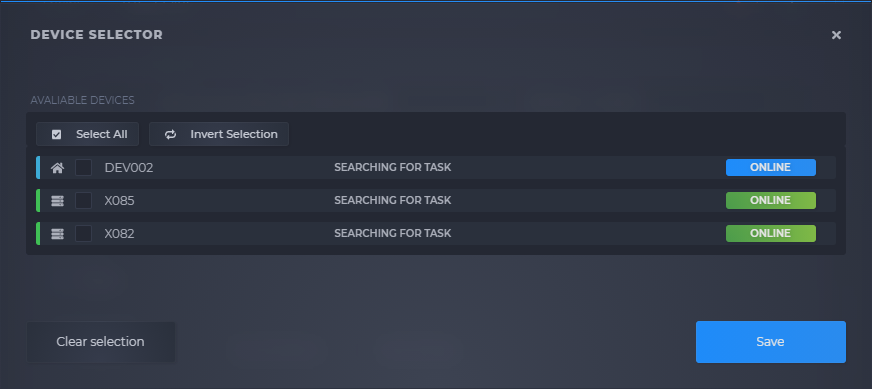
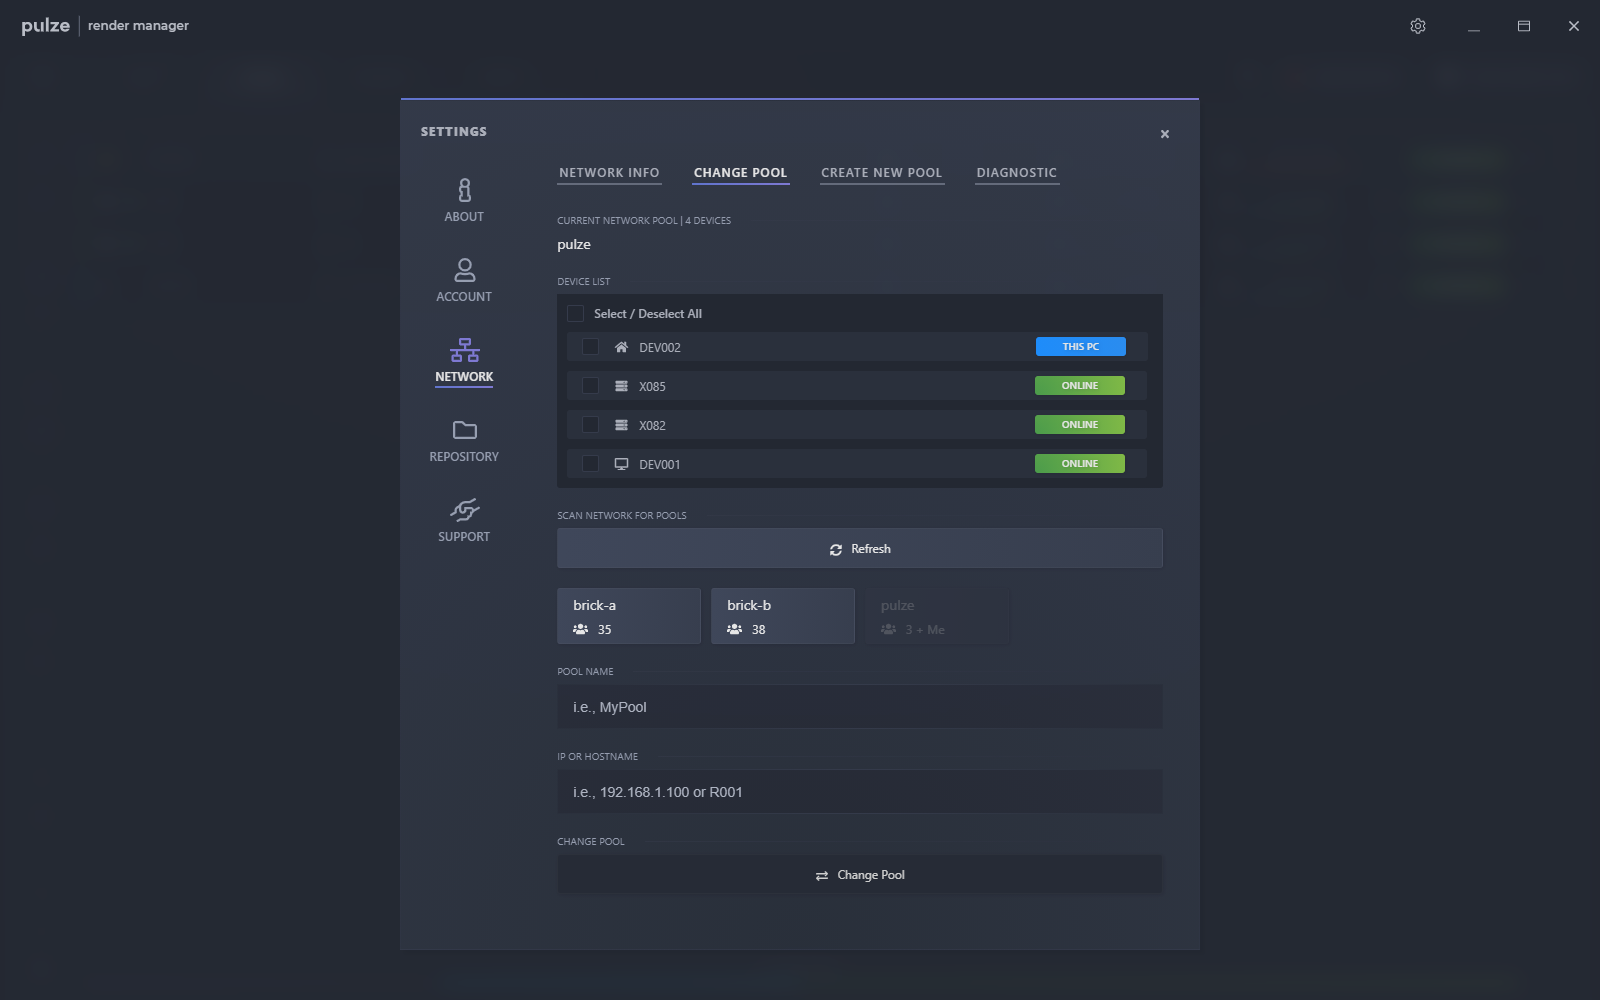
There are two ways to connect to the pool that you previously created. You can enter your workstation’s IP address or hostname and press Connect, or you can hit Scan which will try to find the computers on your network where Render Manager is already running.
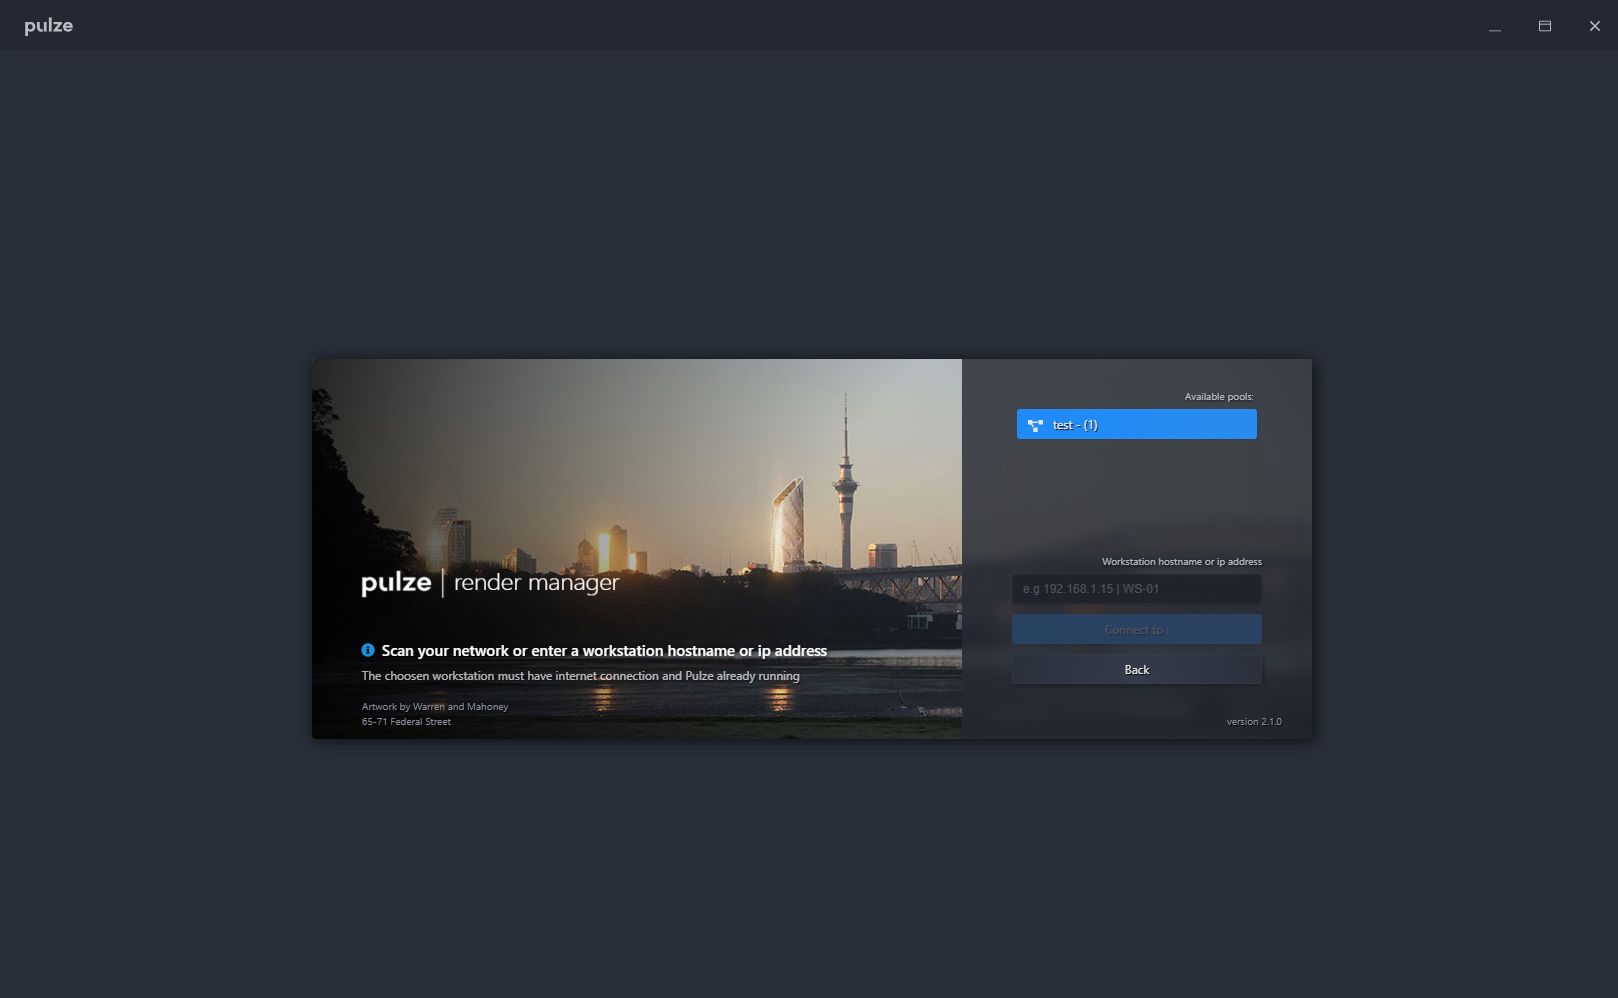
Here you can see the results of a Scan. Render Manager found a pool named test, which has one computer connected. By clicking on the name of the pool you will join it.
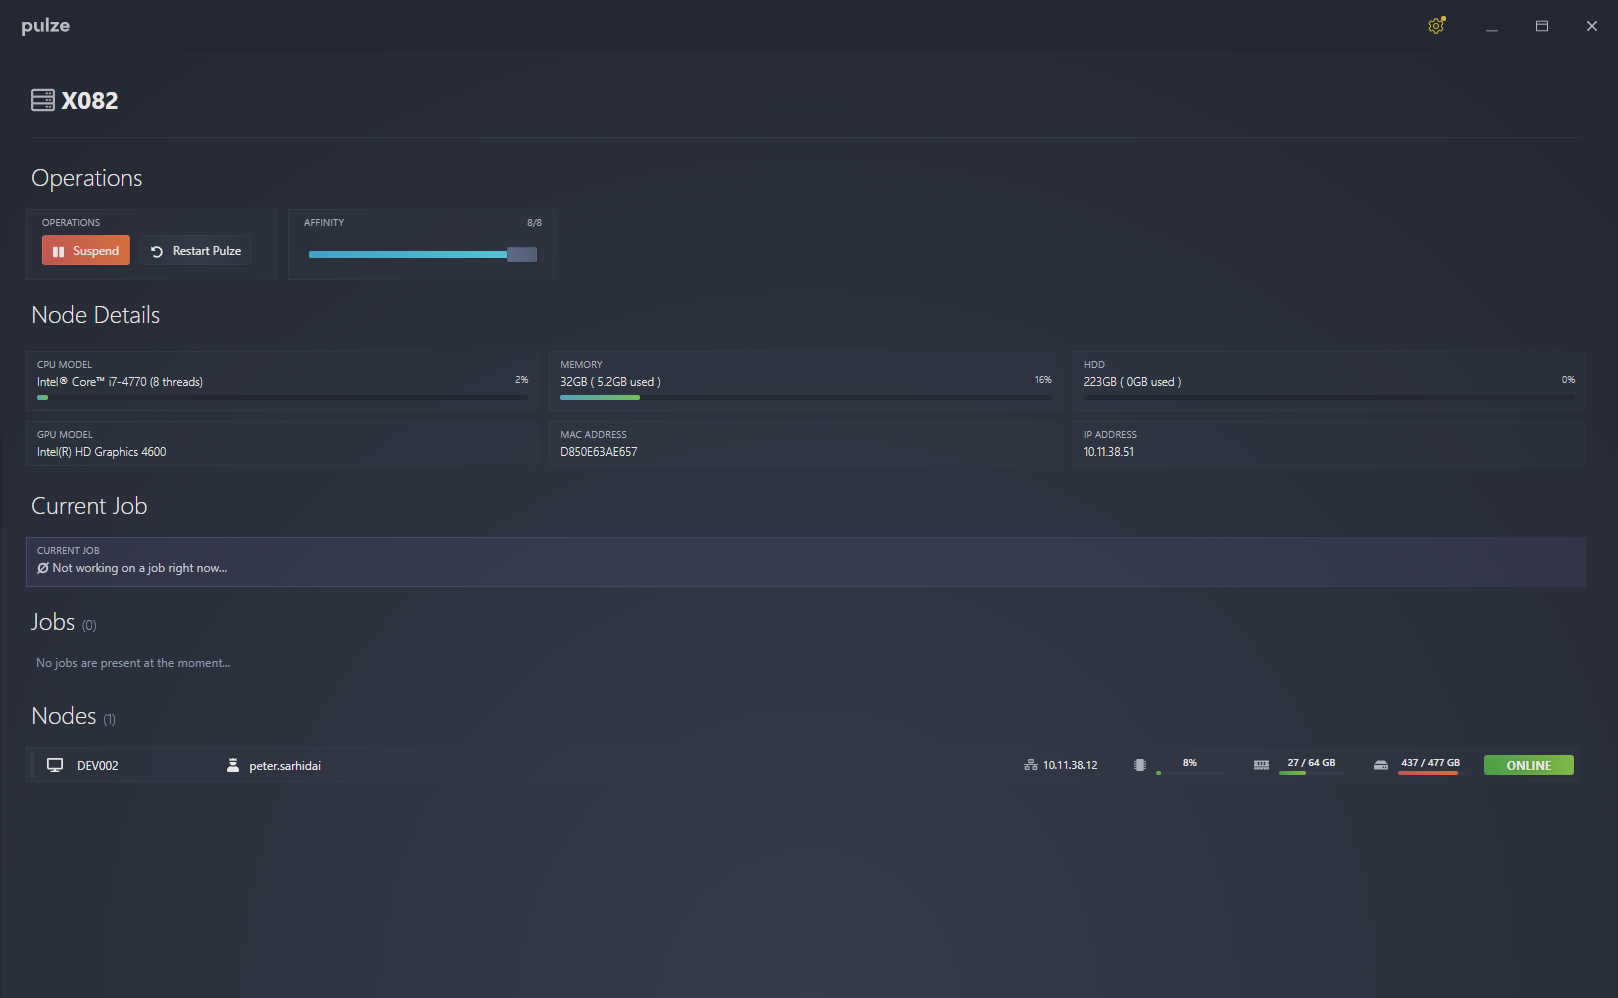
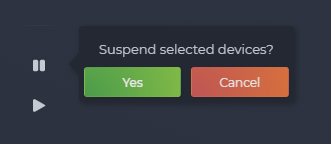
After some loading time, your render node should successfully connect to the chosen pool. The user interface for the node mode is much simpler and besides a few basic operations like suspend or restart, it is only for monitoring purposes.
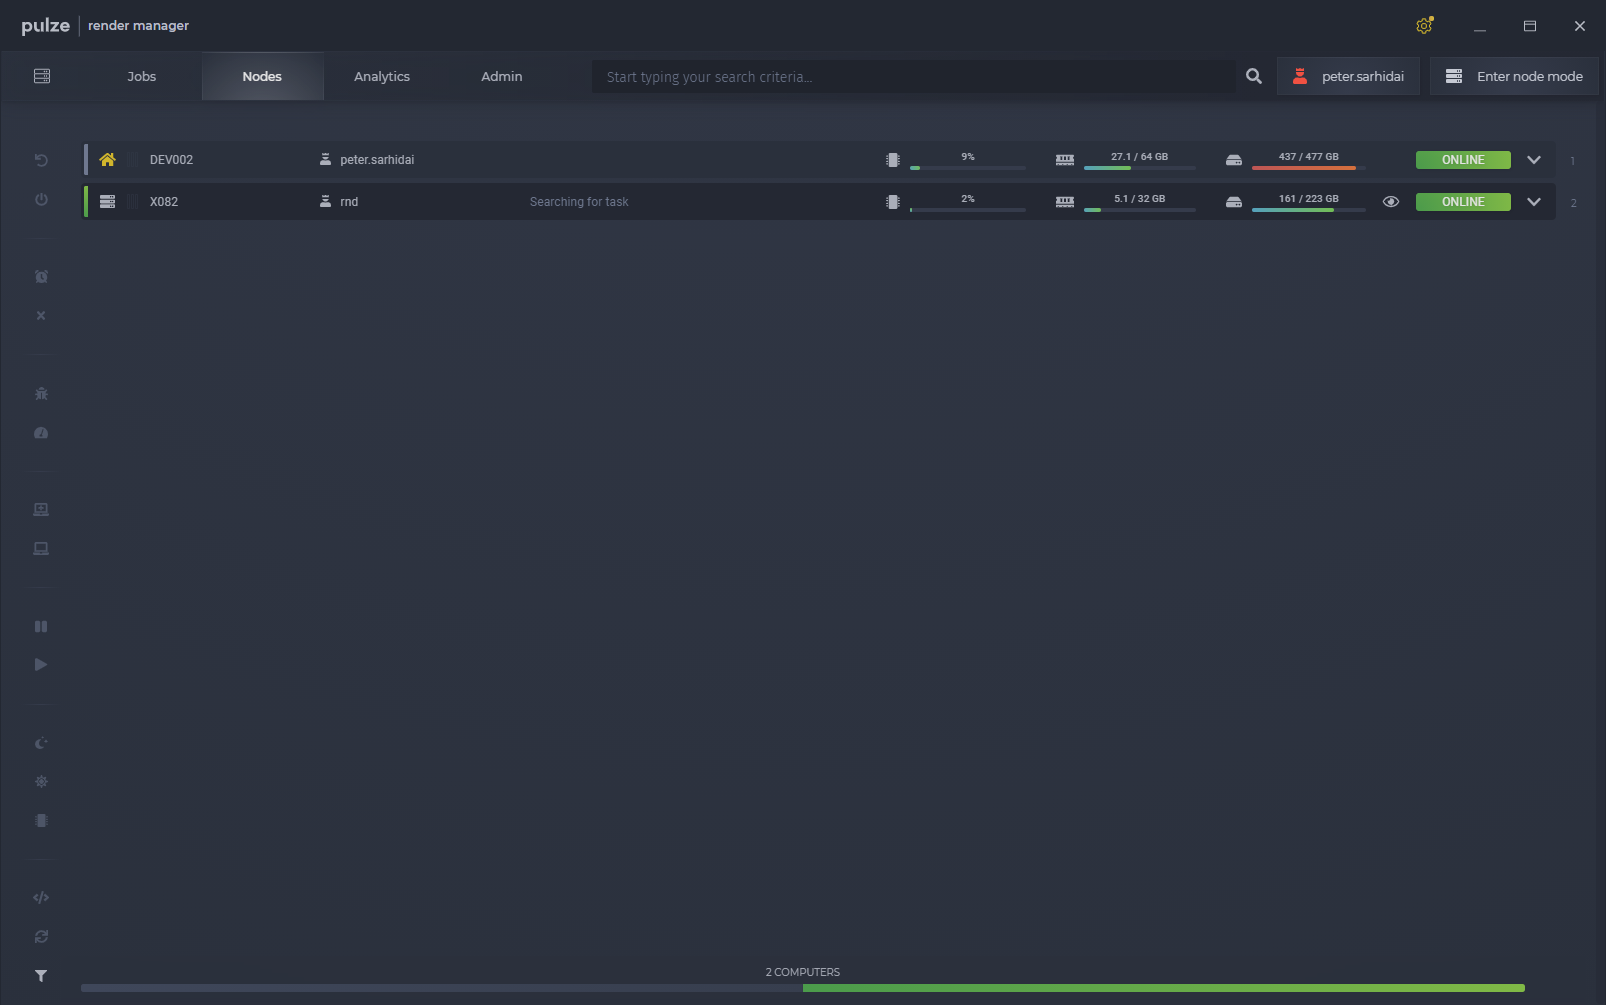
If you jump back to your workstation you will see that our render node is now connected and ready for action.
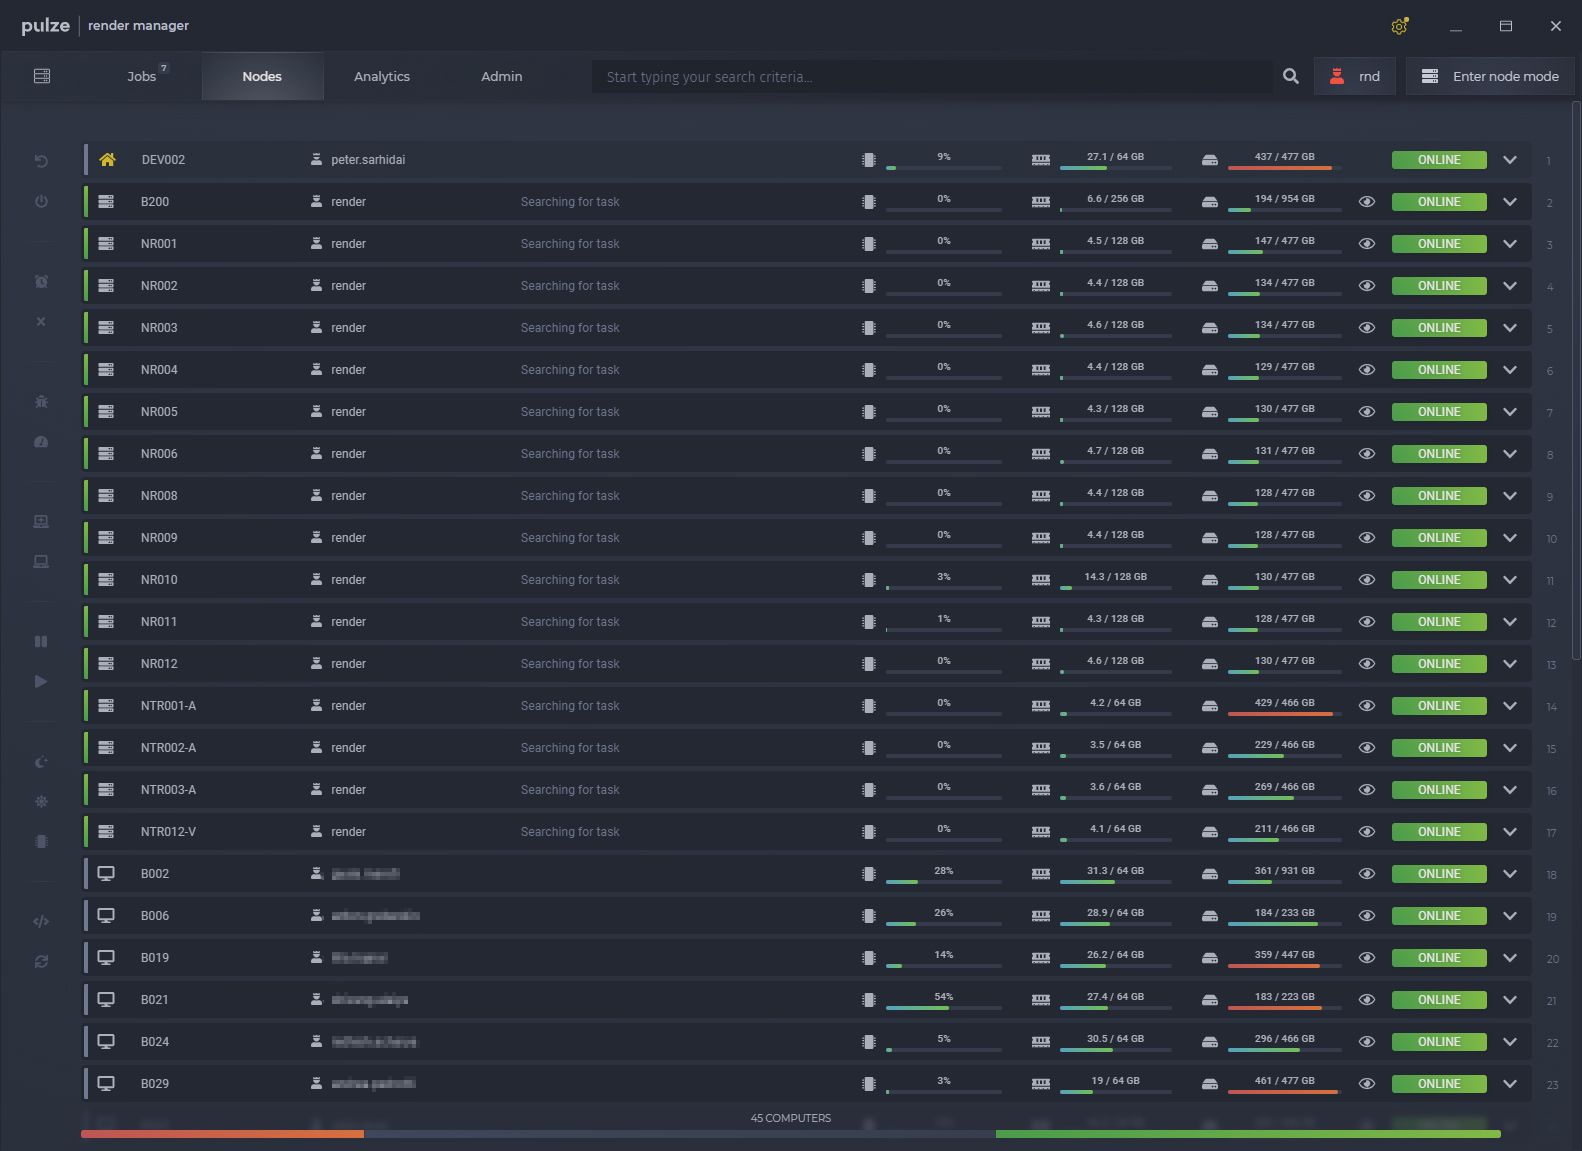
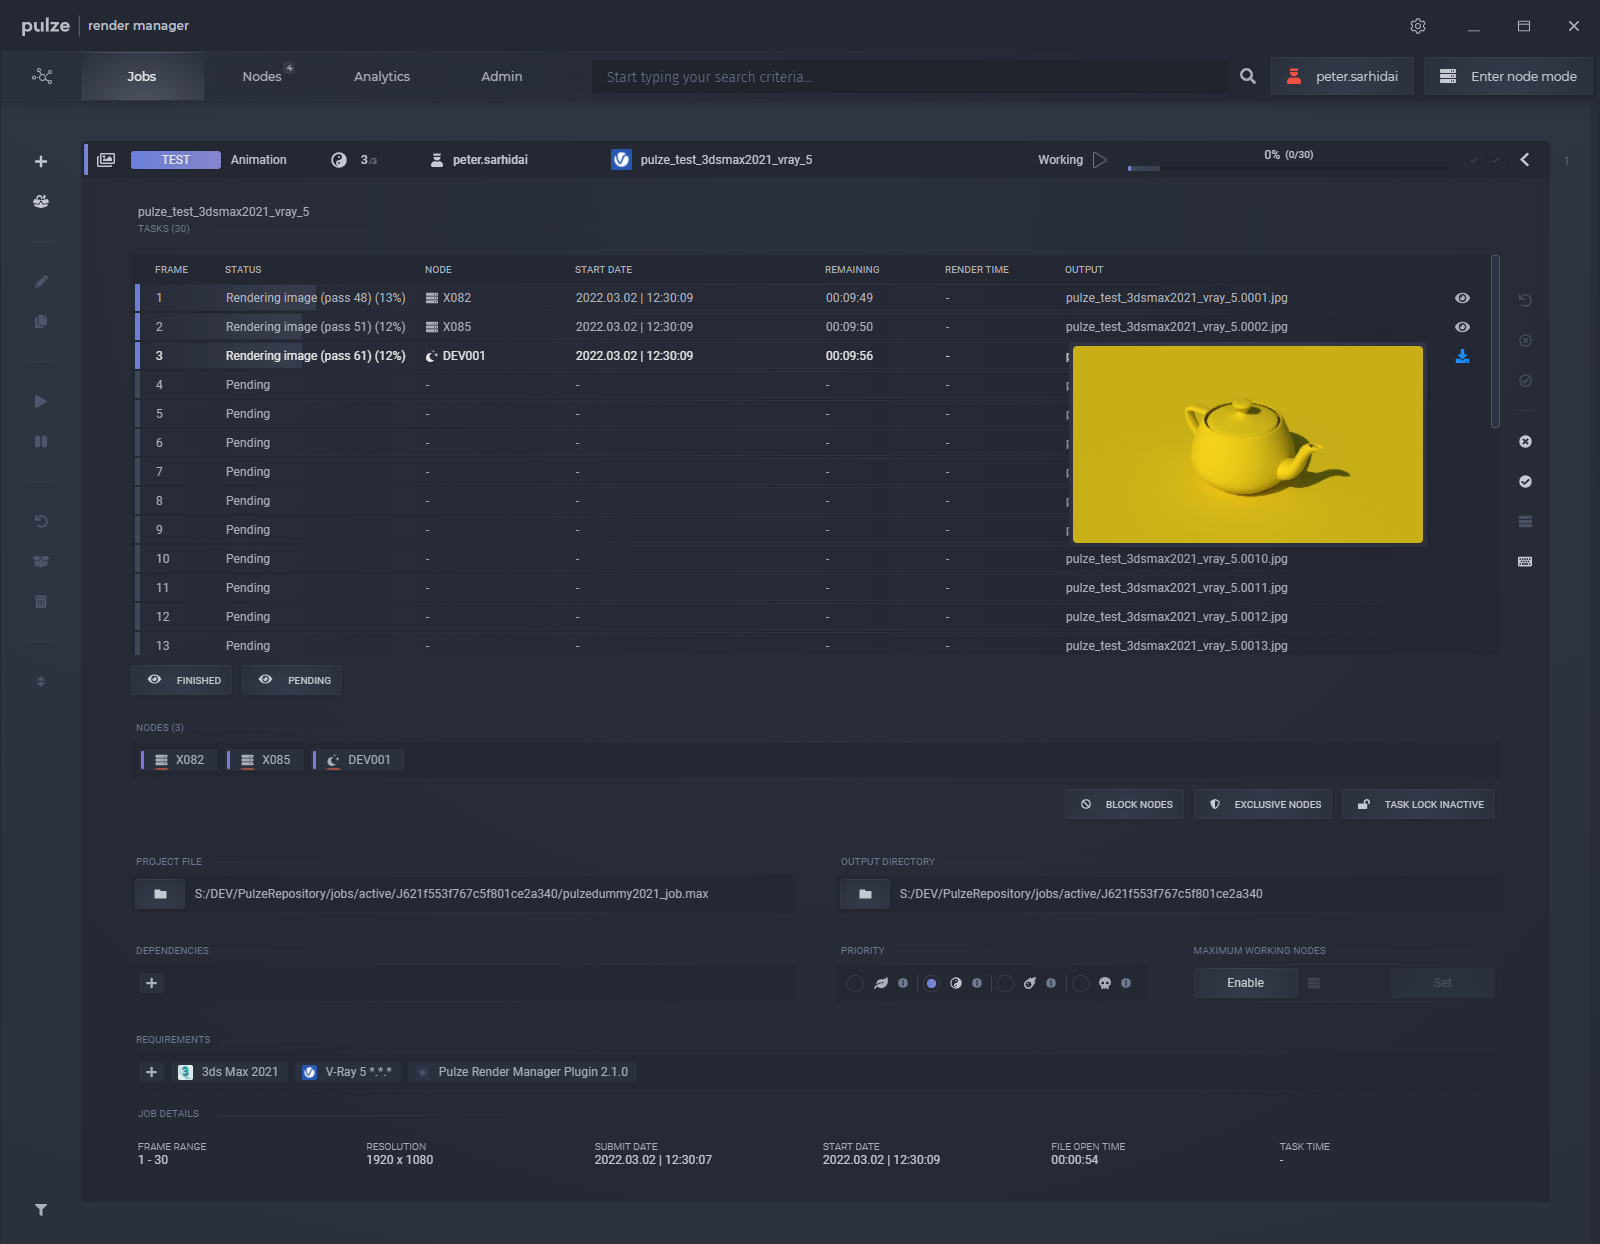
Keep adding in your nodes and workstation one by one.
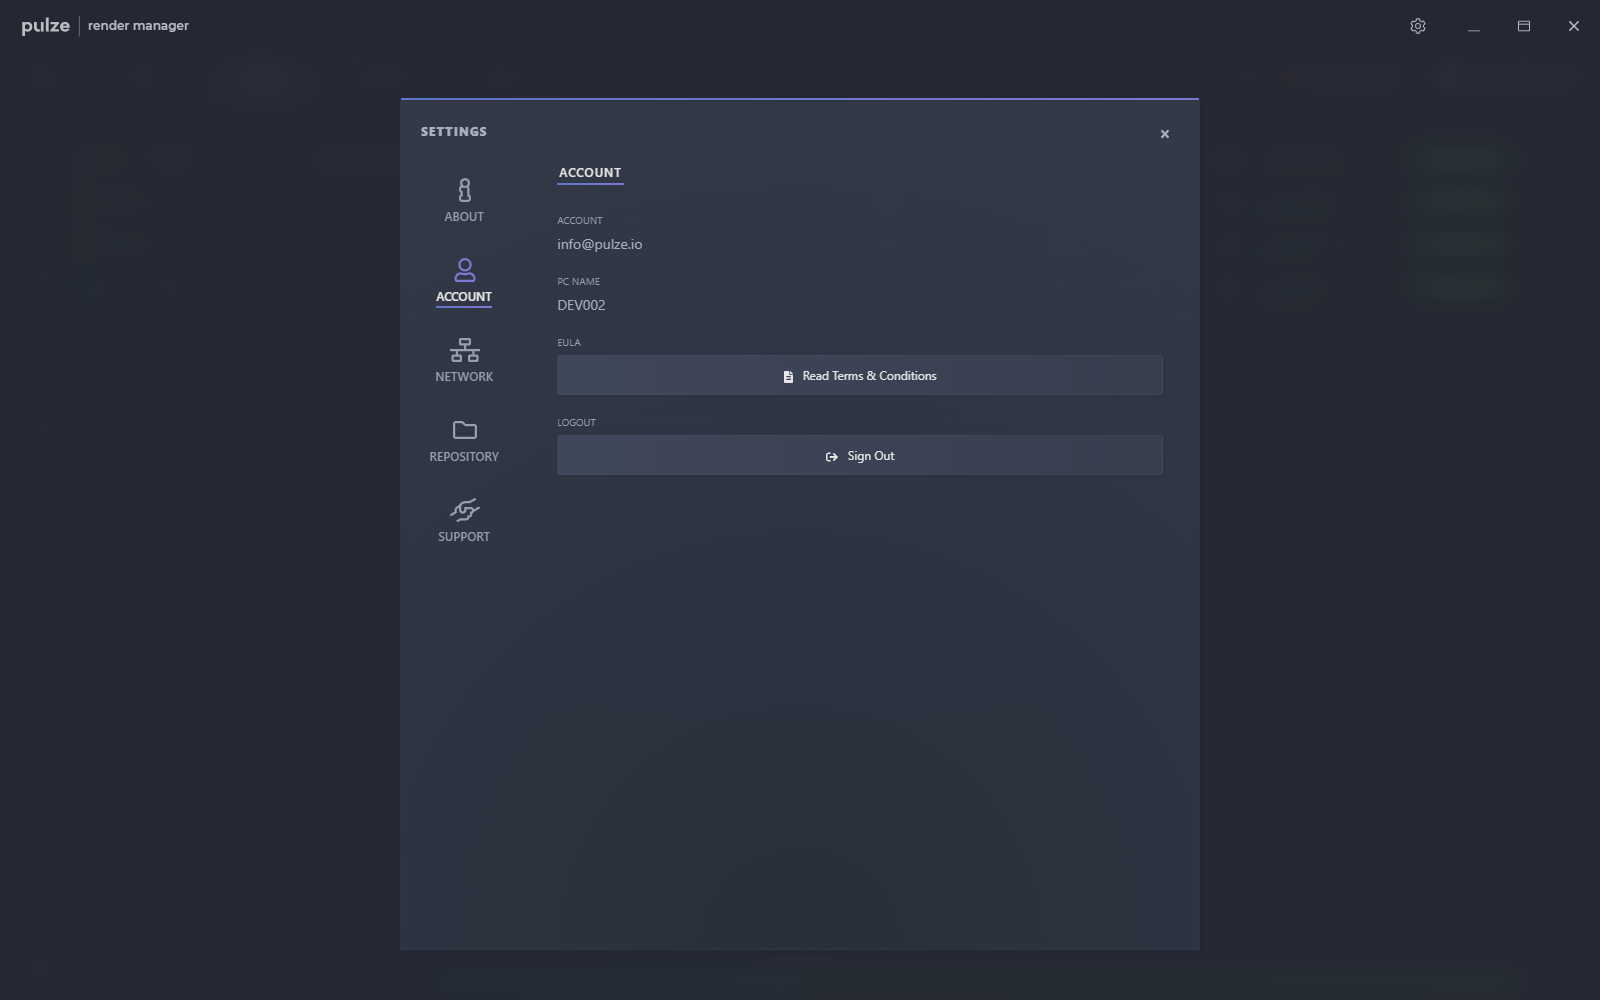
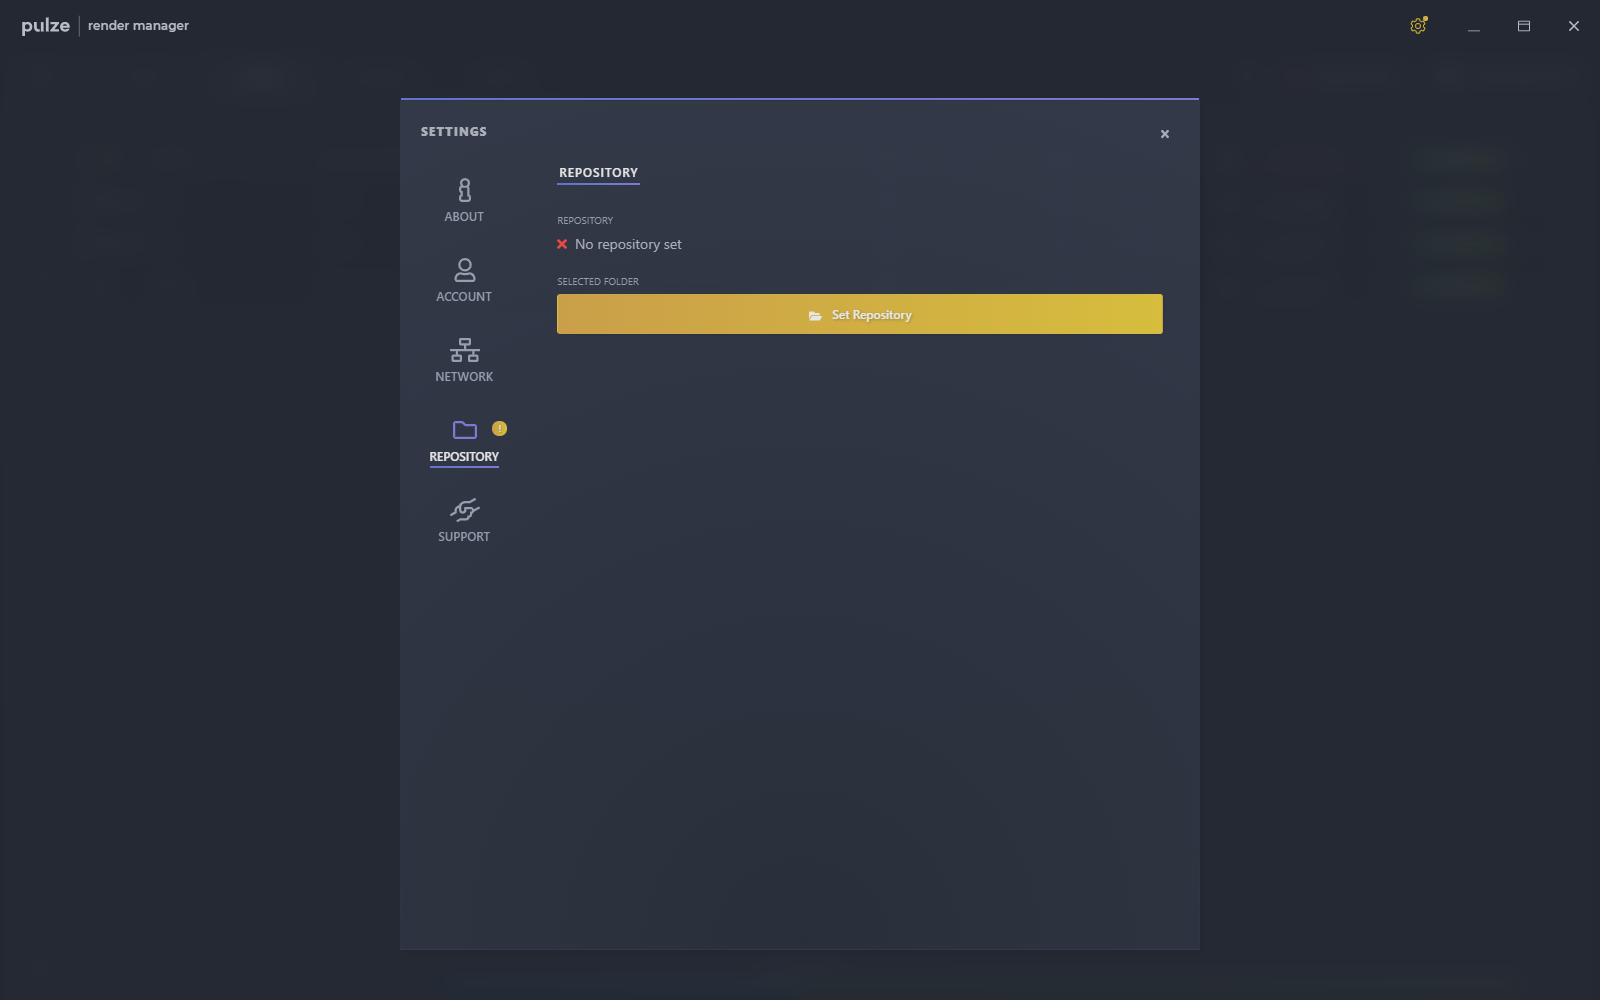
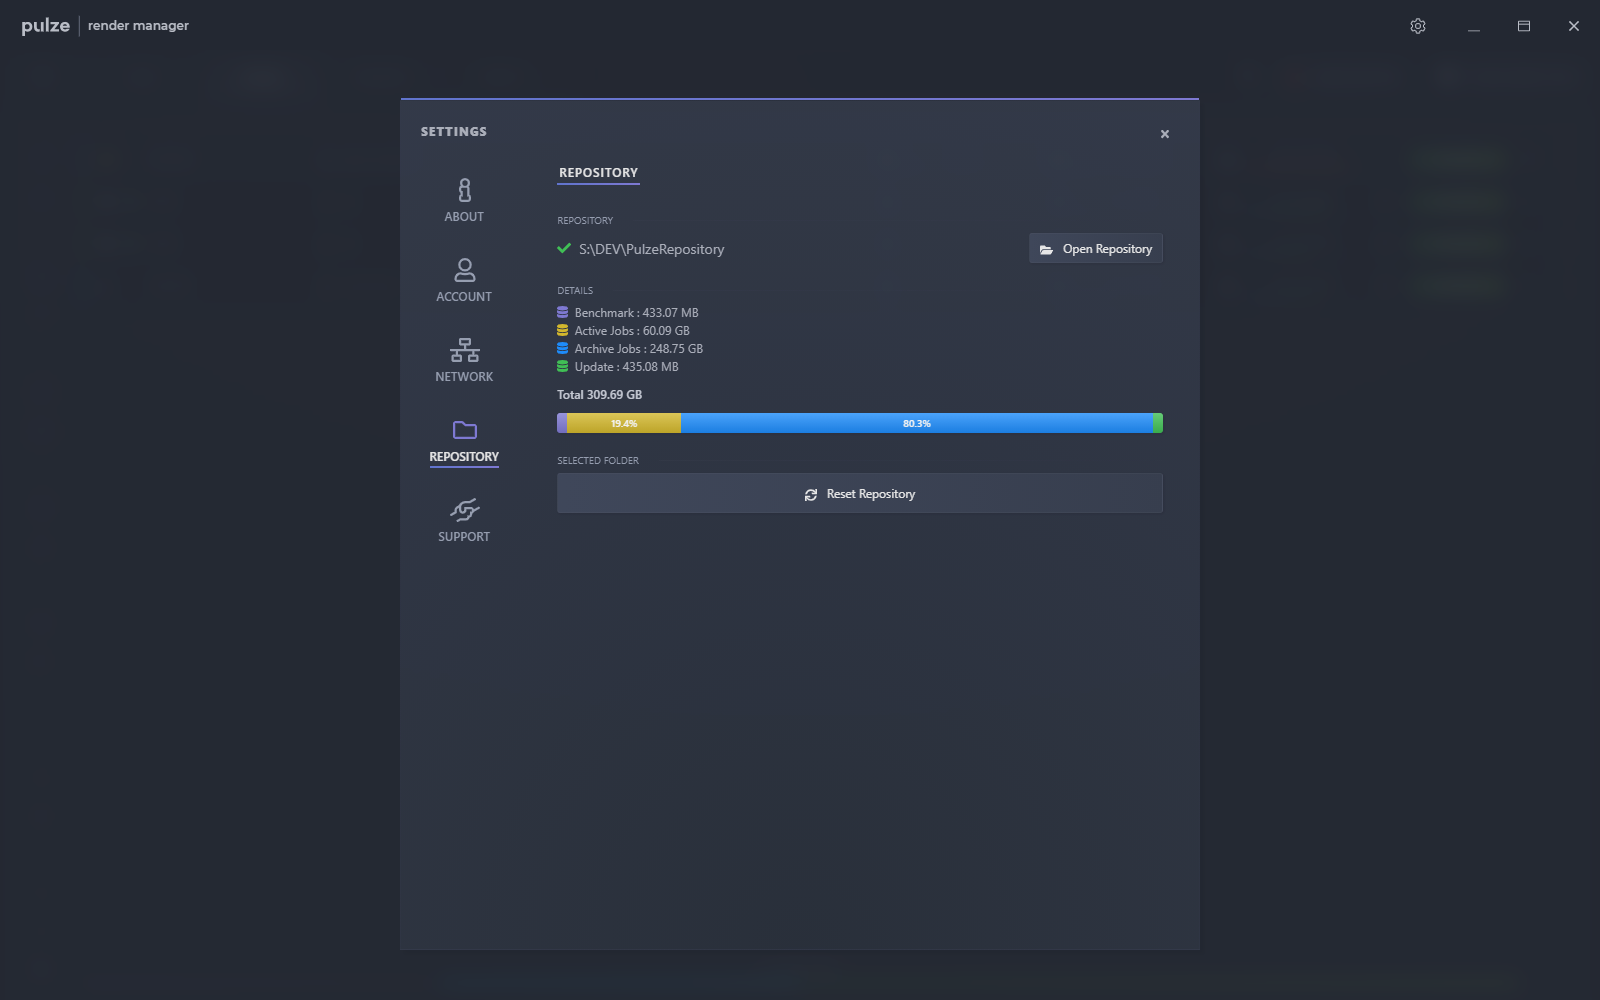
As a last step, let’s configure the repository folder which will be responsible for storing our active and archived jobs as well as statistics, reports and other files.
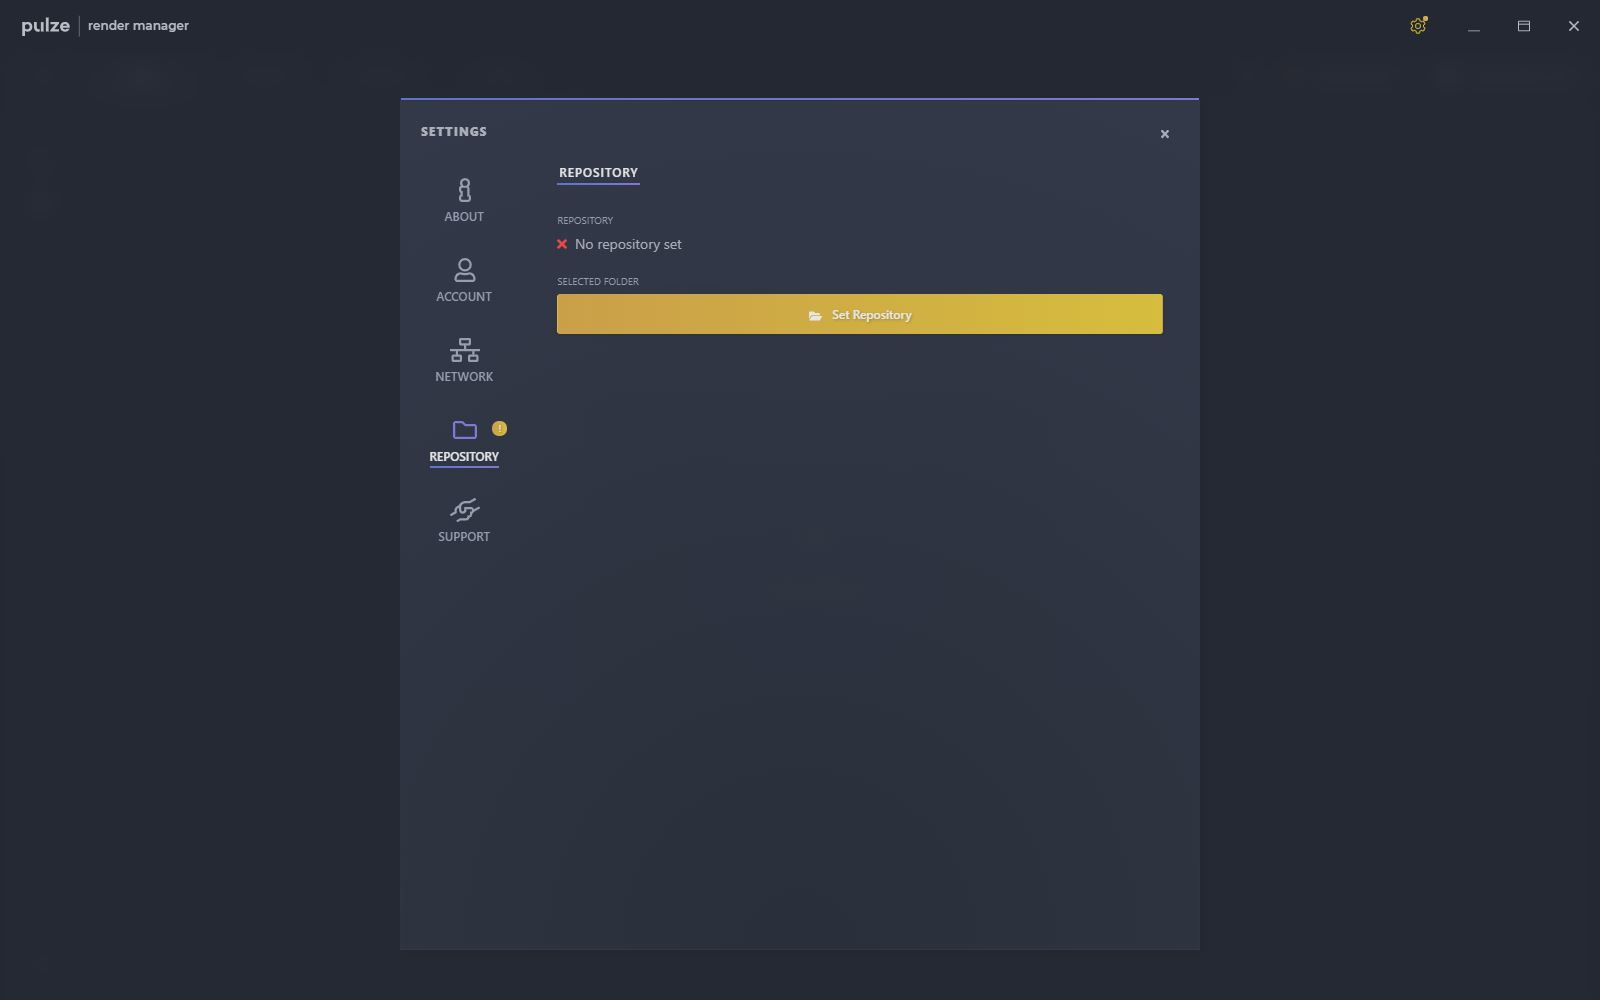
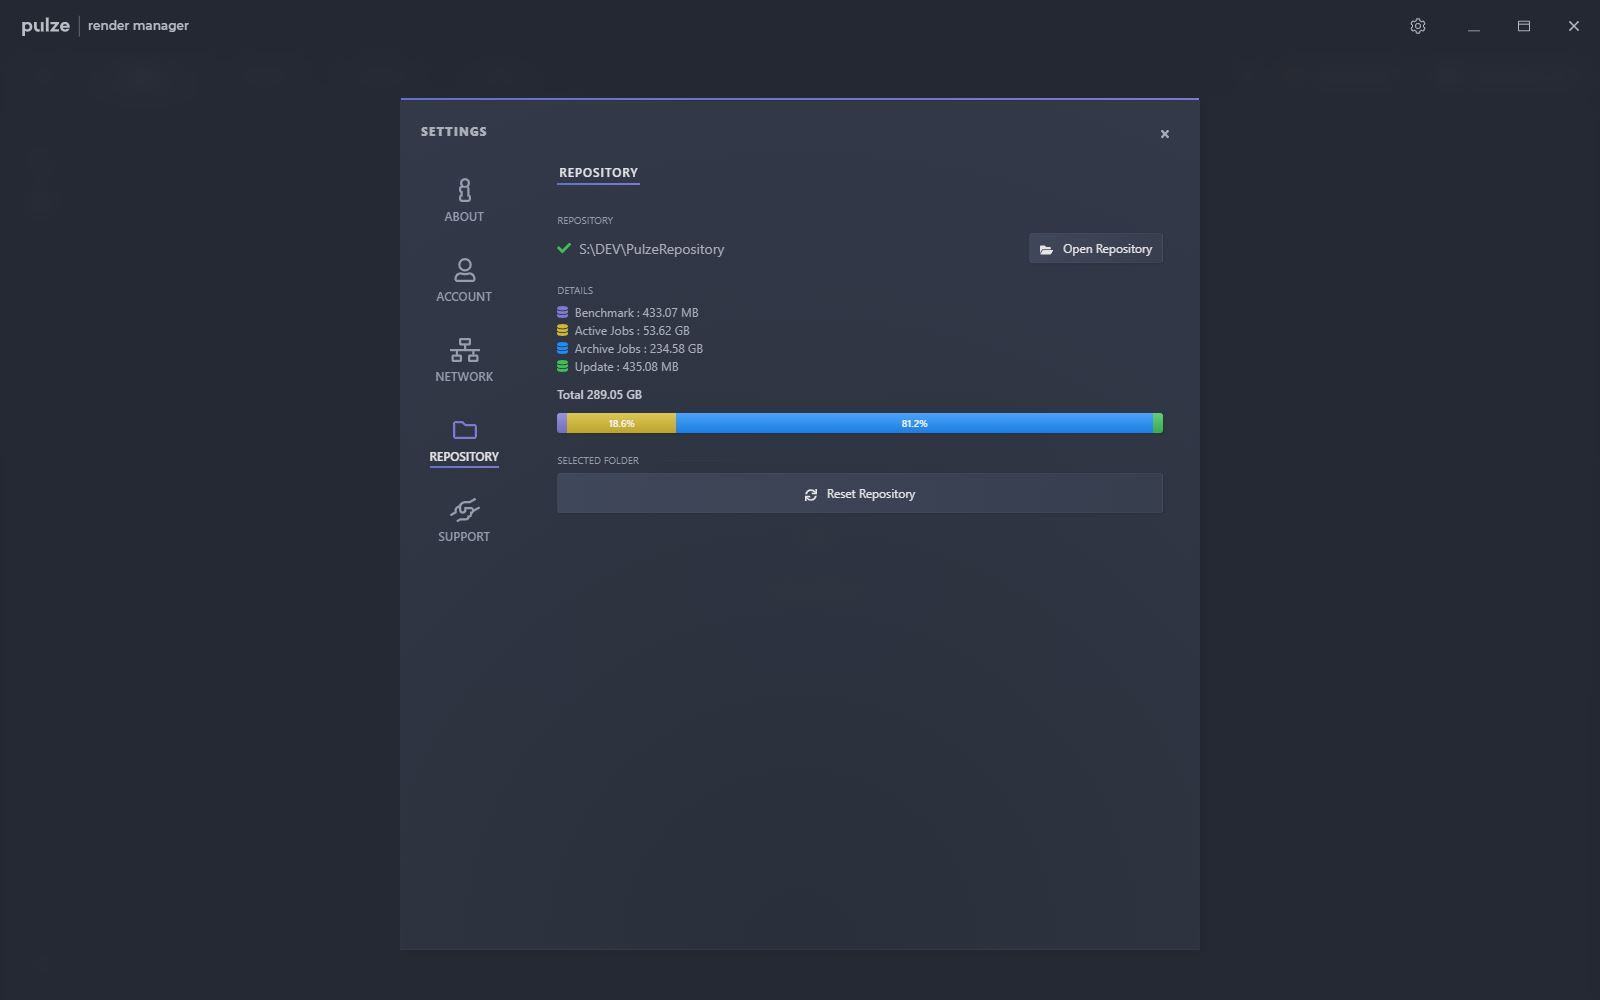
Go to the Settings, choose the Repository tab and browse in a folder by pressing Set Repository. This folder should be shared and available to every node and workstation in your pool.