

Requirements
- Adobe Photoshop 2025 (26.0) or newer
- Windows 10/11 or macOS
- A free Pulze account (you can create one while signing in)
- An internet connection for the first sign-in. After that, LayerWise works offline.
On Windows, the LayerWise panel is drawn with Microsoft Edge WebView2, which comes with Windows 10 and 11. If the panel stays blank, see the FAQ.
Supported renders
- Render engines: V-Ray, Corona and FStorm
- File formats: PNG, JPEG, TIFF, TGA and EXR, including multichannel EXR
Install LayerWise
LayerWise comes as a single.ccx file, which Creative Cloud installs for you.
1
Download
Download the LayerWise
.ccx file from pulze.io.2
Install
Double-click the file. Creative Cloud opens and asks you to confirm. If it warns that the plugin comes from an unverified developer, confirm anyway. LayerWise is now installed in Photoshop on this computer.
3
Open the panel
In Photoshop, open Plugins → Pulze → LayerWise. Dock the panel wherever you like.
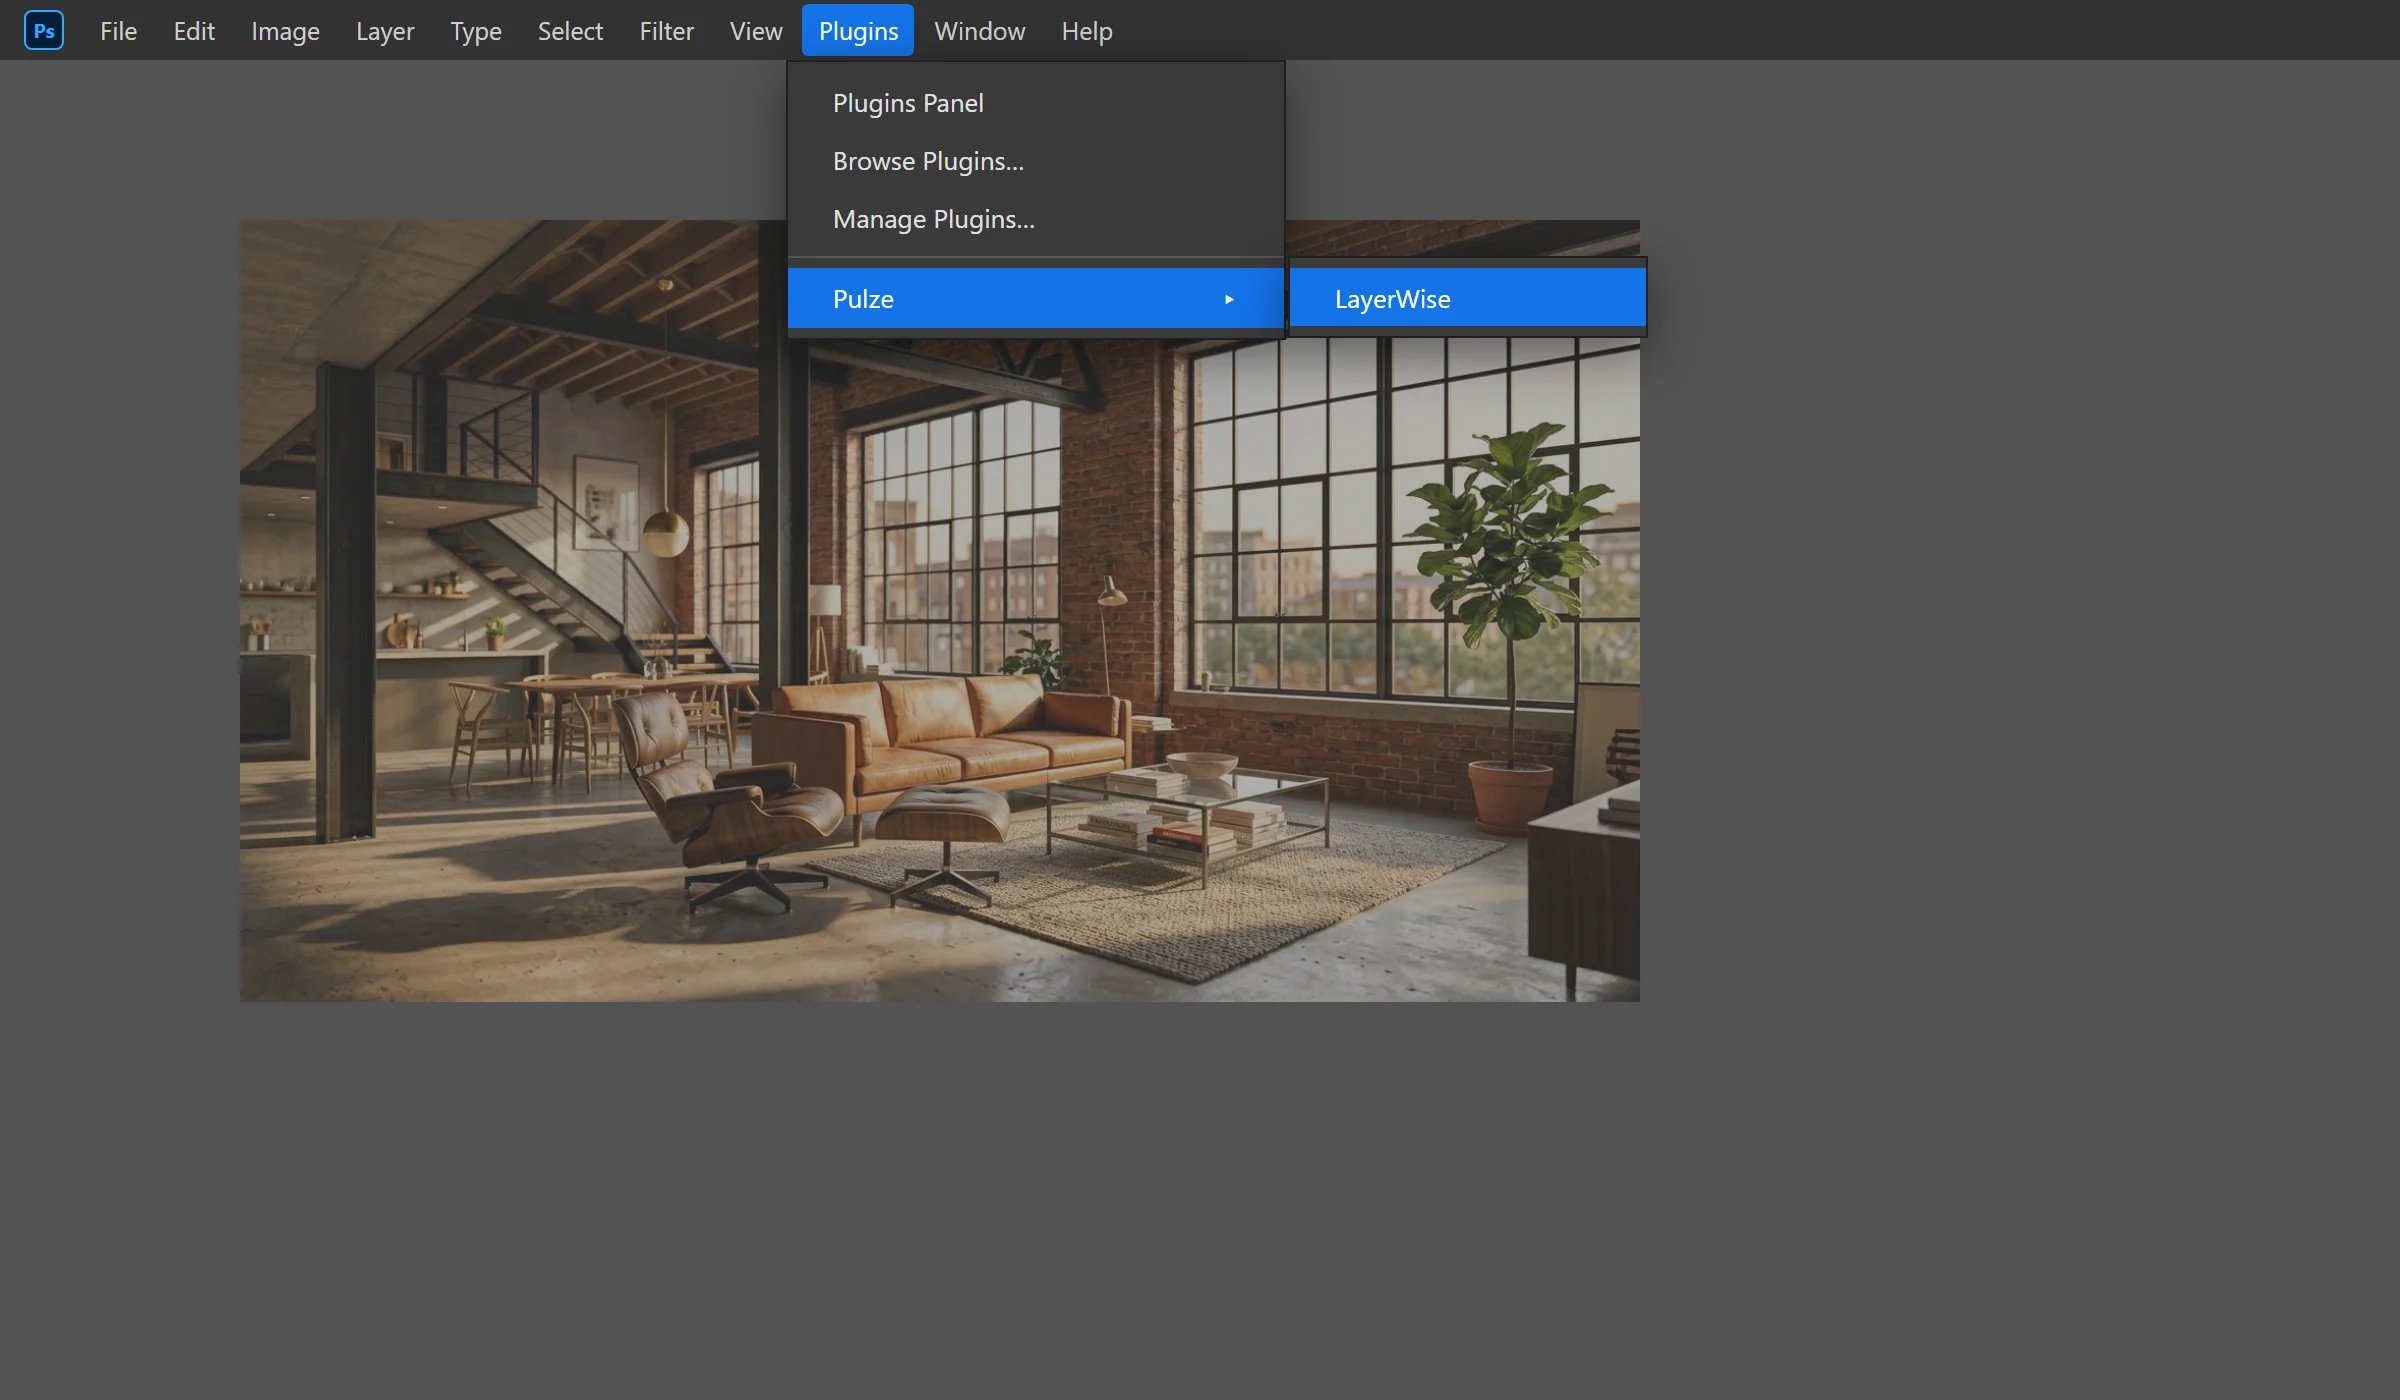
Opening the panel from Photoshop's Plugins menu
Sign in
The first time you open the panel, you sign in with your Pulze account.1
Press Sign in
LayerWise shows a short code and opens a browser tab. If no tab opens, press Open browser, or open the link shown in the panel yourself.
2
Confirm the code
Check that the code in the browser matches the one in the panel, then sign in (or create a free account).
3
Done
The panel picks it up and opens the Home screen. If the code expires before you finish, press Get a new code.
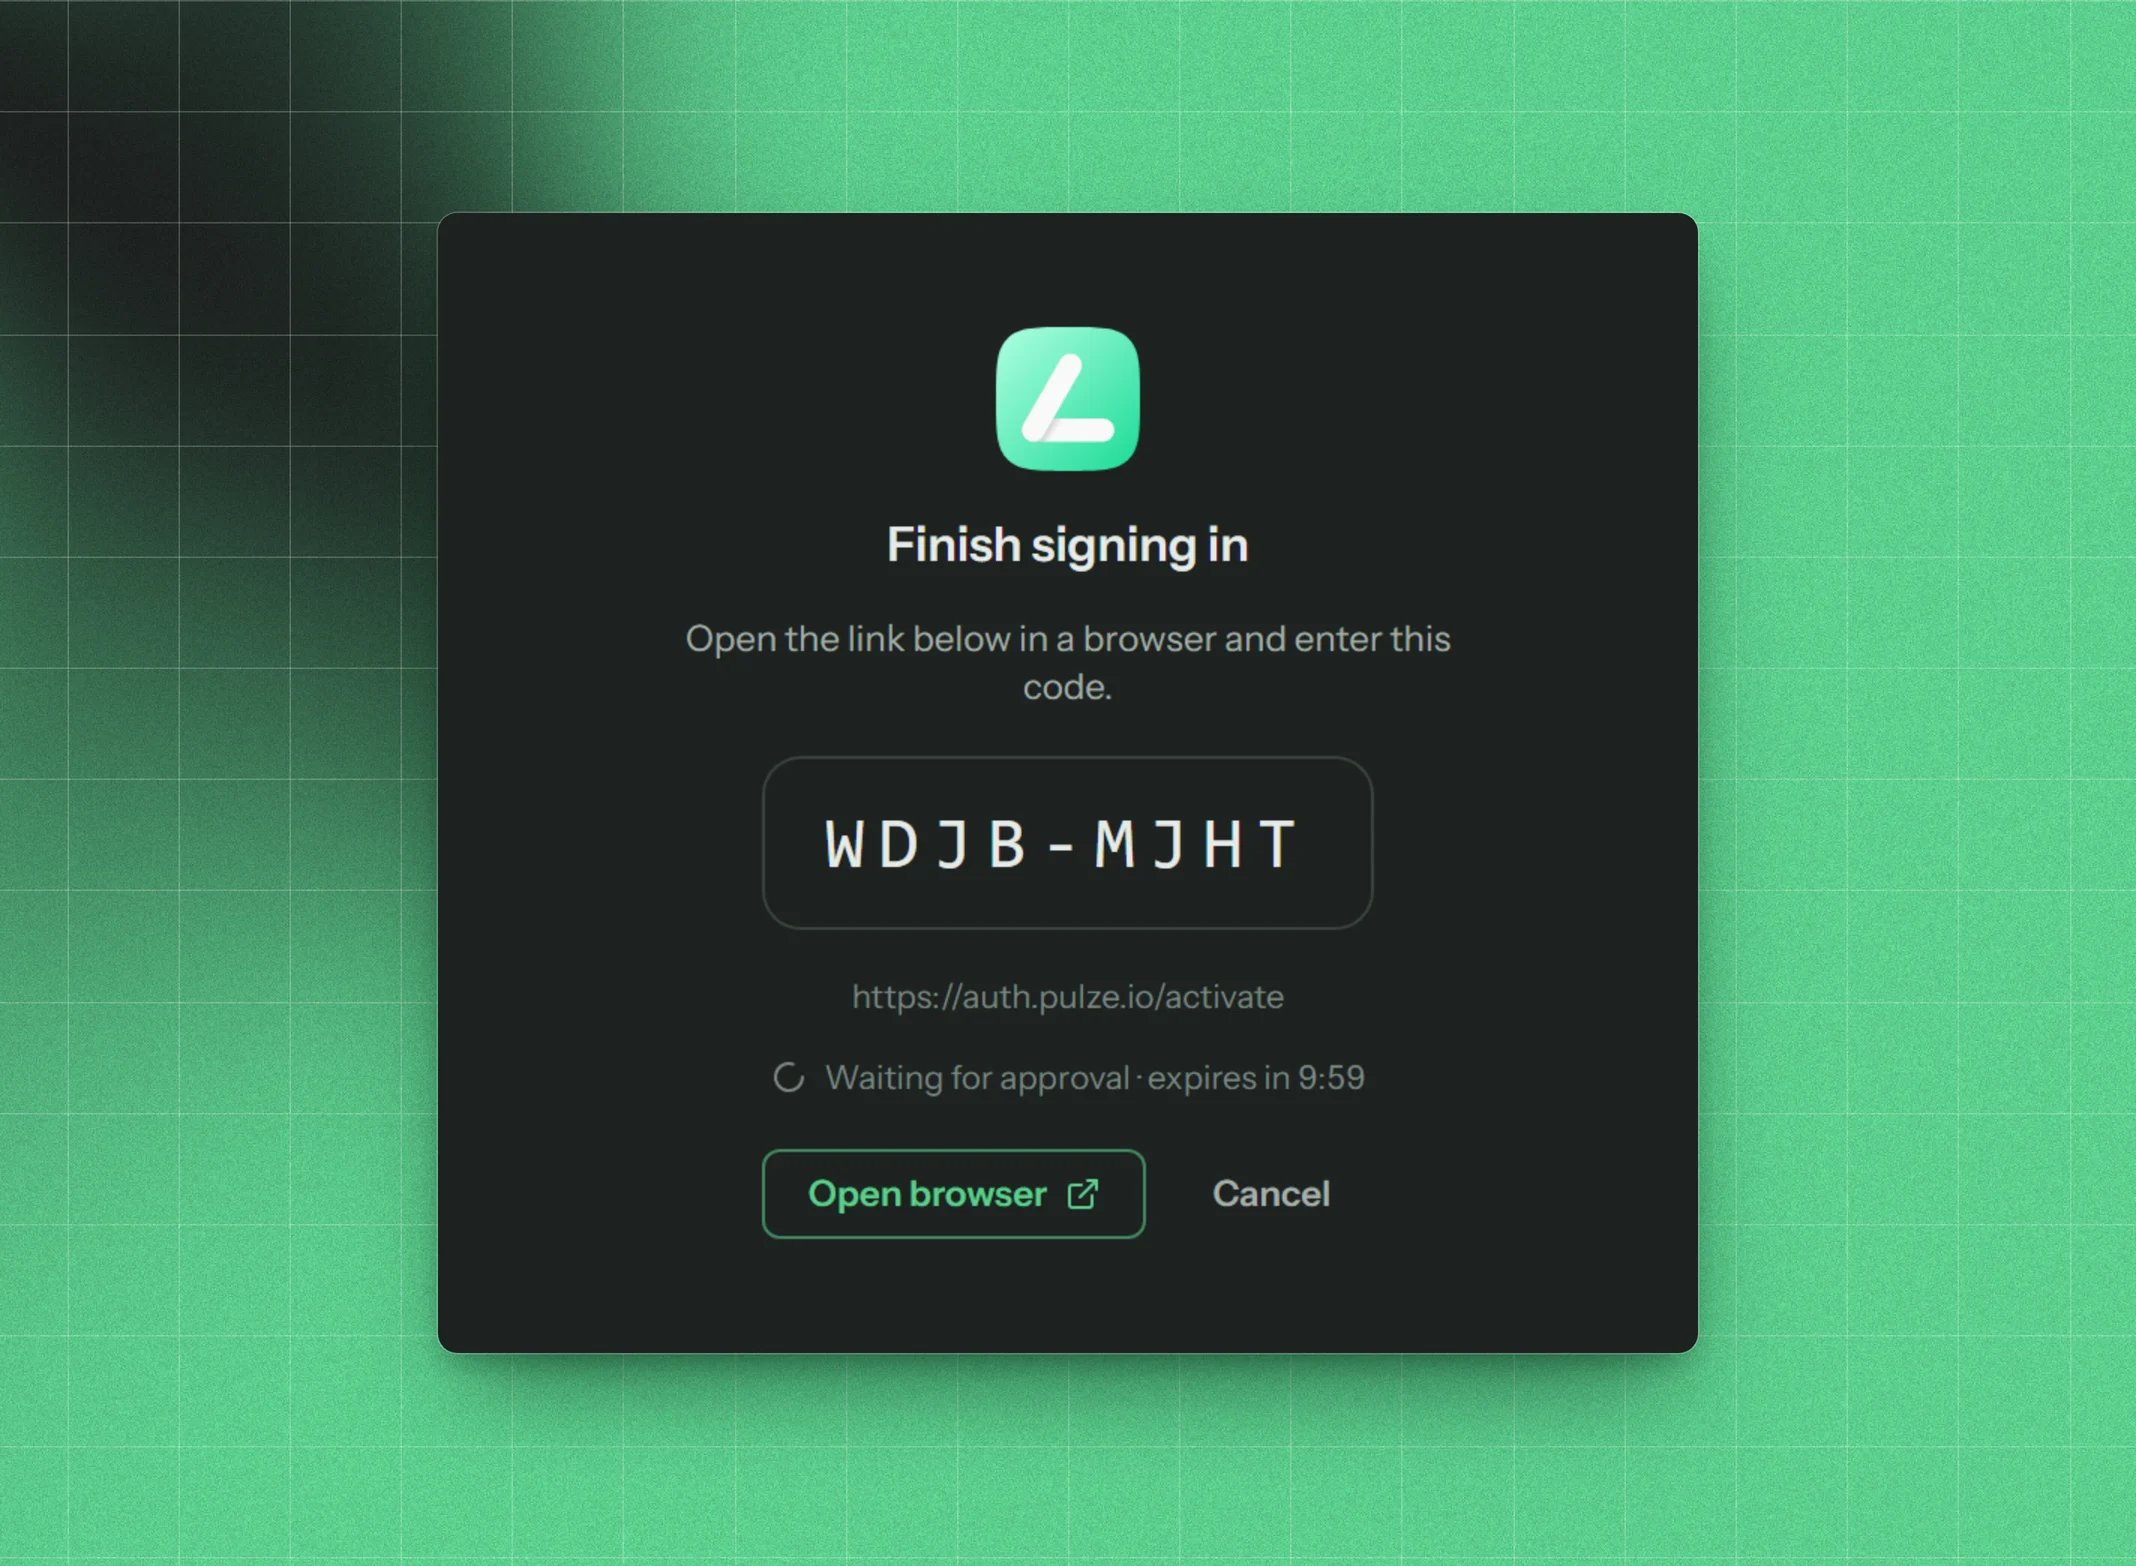
Signing in: confirm the code shown in the panel in your browser
Settings, templates and sign-in are stored per Photoshop version. After upgrading to a new major Photoshop version, sign in again and move your own templates over by exporting and importing them (or keep them in the cloud).
Updates
LayerWise checks for a newer version once per launch and shows a green banner with What’s new when there is one. Get the update takes you to the download. Install the new.ccx the same way; your settings and templates stay. See Settings → Check for updates.